Today I’m sharing my approach to watercolour and ink drawing which I use for my instagram project, @NeverTooManyChickens.

Materials
A quick summary of materials, before I walk through my process and my “whys”:
- Paper – Fabriano Acquarello Artistico Extra White, 12x18cm block OR Fabriano Classico 5 Fat pad (A5) (I switched to the latter during Covid lockdown 2020 because I ran out of the former!)
- Pencil – Winsor & Newton Graphite 2B
- Eraser – generic plastic
- Pen – Derwent Line Makers
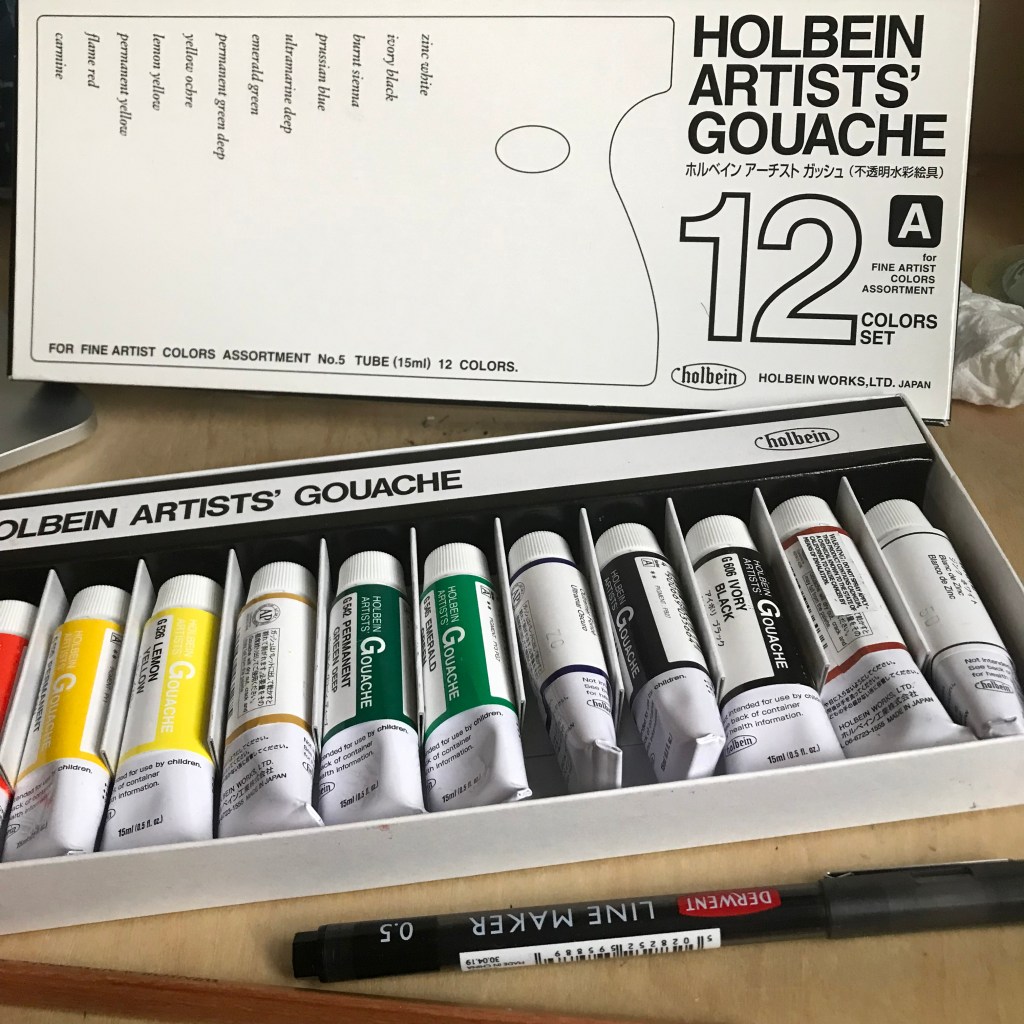
- Paint – Holbein artists gouache set of 12
- Palette – Jackson’s ceramic daisy palette
- Brush – Jacksons synthetic – Onyx size 6
The models
I’m lucky that instagram is full of chickens and chicken parents who nominate their critters to be drawn!
Look at this beauty..

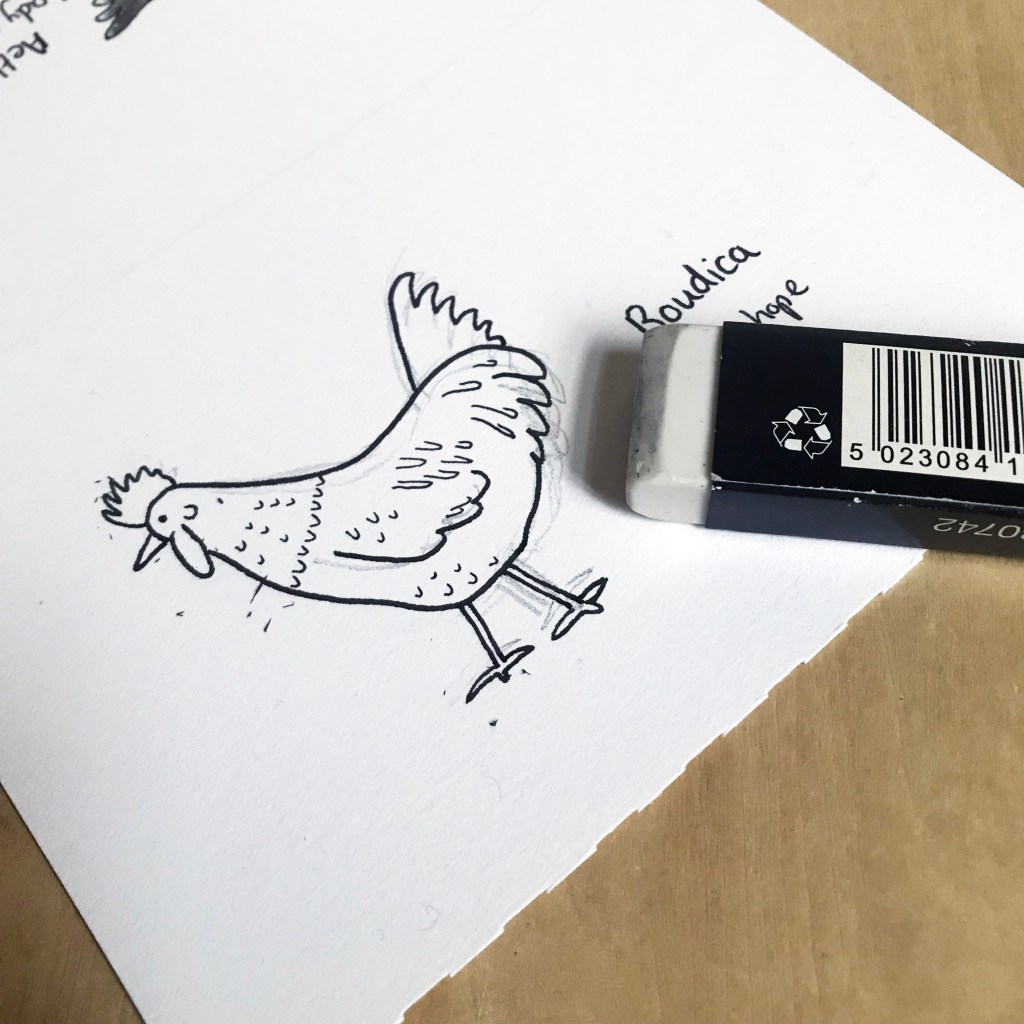
Pencil (for once)
My first step is to draw a rough pencil outline, and then ink over the top. This is the only project I have where I actually use pencil first rather than going straight to ink. This is because, frankly, I’m not terribly good at drawing real chickens from life – hence I started the project to get better at it!

For this I’m using a standard 2B graphite pencil from Winsor & Newton. If you’re working in pencil you probably have, or should get, some kind of box set as it’s more cost-effective. This studio collection from Winsor & Newton is standard and reliable, but there are a lot of options out there.
Inking
Once I’m happy with the rough shape and features, I then create a line drawing. Here I’m using Derwent Line Makers and using a standard plastic eraser. My pencil is quite light, and as I’m using pigment pens and erasing carefully, it doesn’t damage the ink work.
Painting
From there I just attempt to match the colours as well as I can. I have some key go-to colours from the Holbein Artists Gouache set that I have set up in my Daisy Palette.

Because it’s watercolour, I can let it dry out on the palette, keep it covered, and reuse it each time I need to work.
These are small drawings, so they use very little paint.
Using this little paint, with this much accuracy means it’s almost more like inking the image than traditional painting.
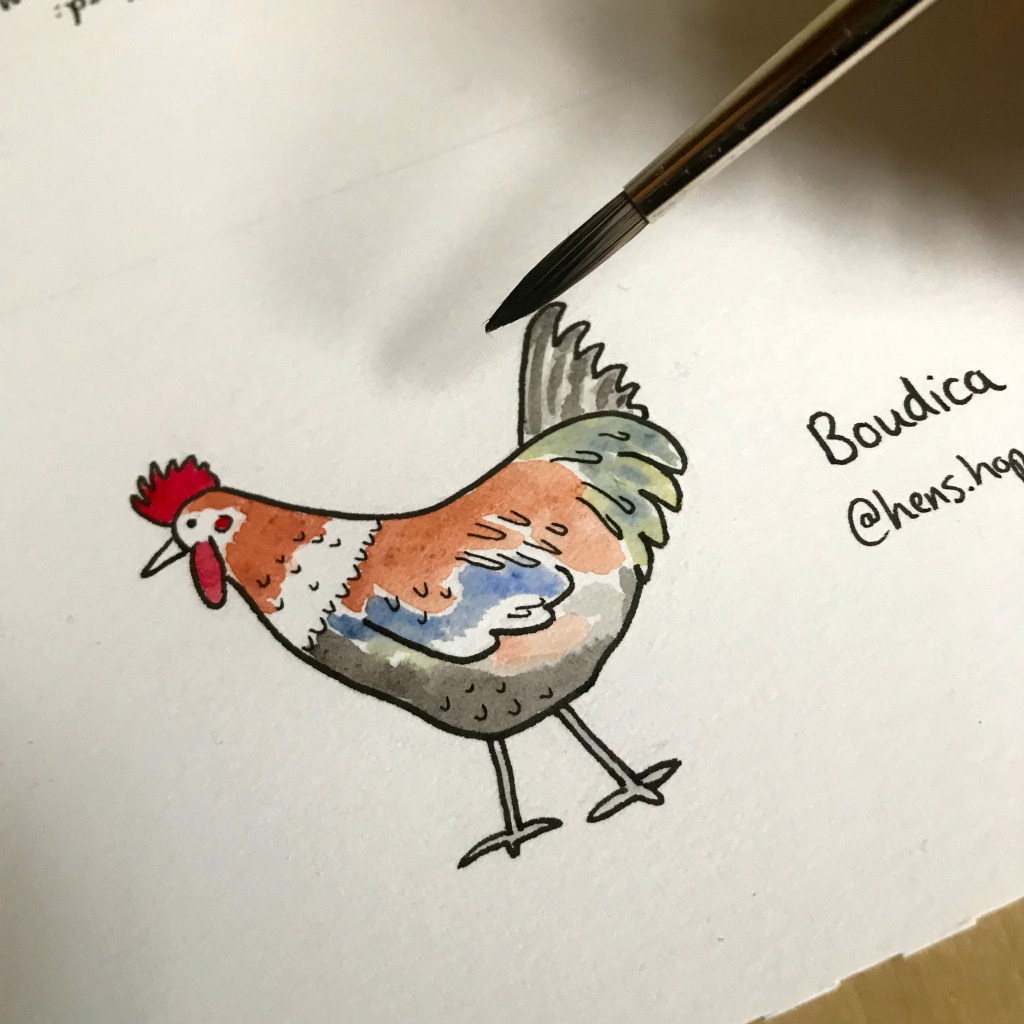
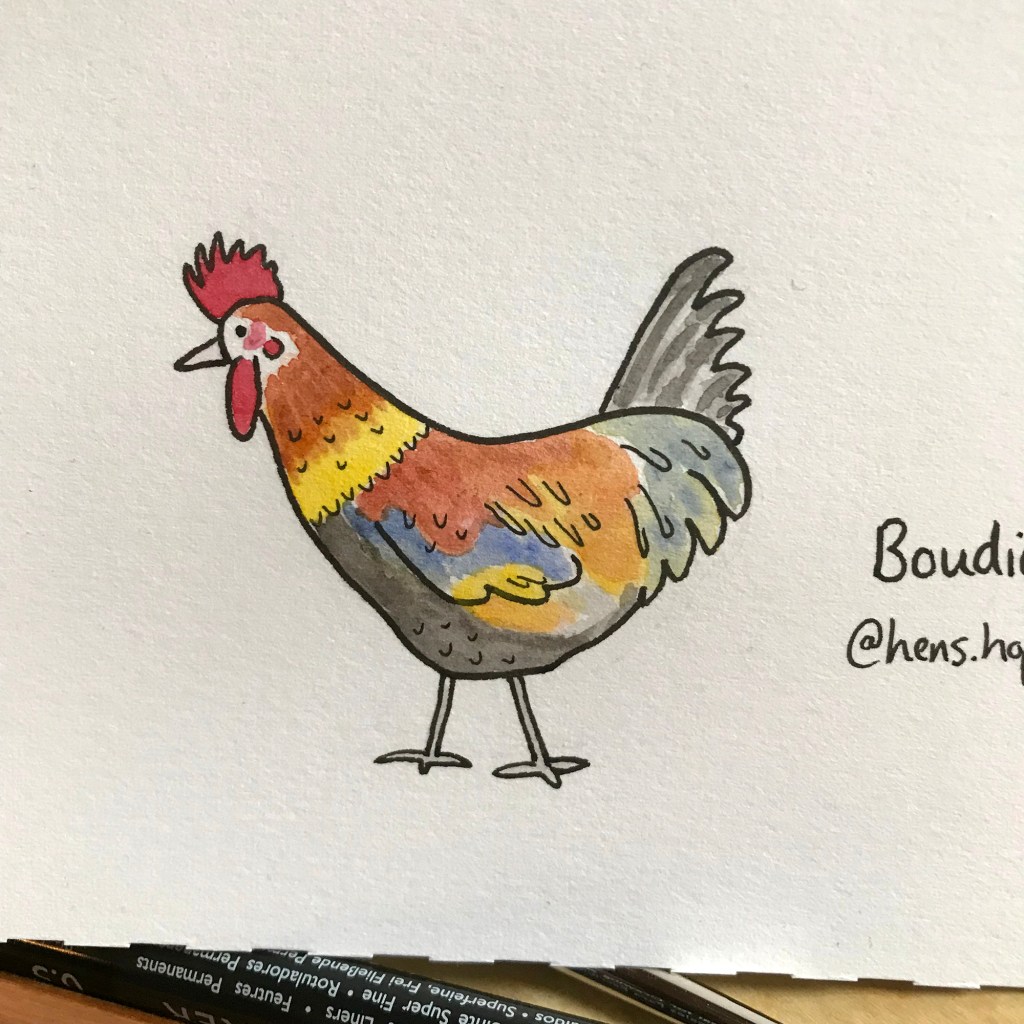
For Boudica, you can see that I had to go outside of my core colour base and add blue and green! Not your usual chicken colours!

For my brush, I’m using this Jacksons synthetic – Onyx size 6. Does the job, and is kind to animals.
Final work
Here’s the final artwork just snapped with my iPhone.
And here you go – the final drawing, post-editing, added to Instagram.
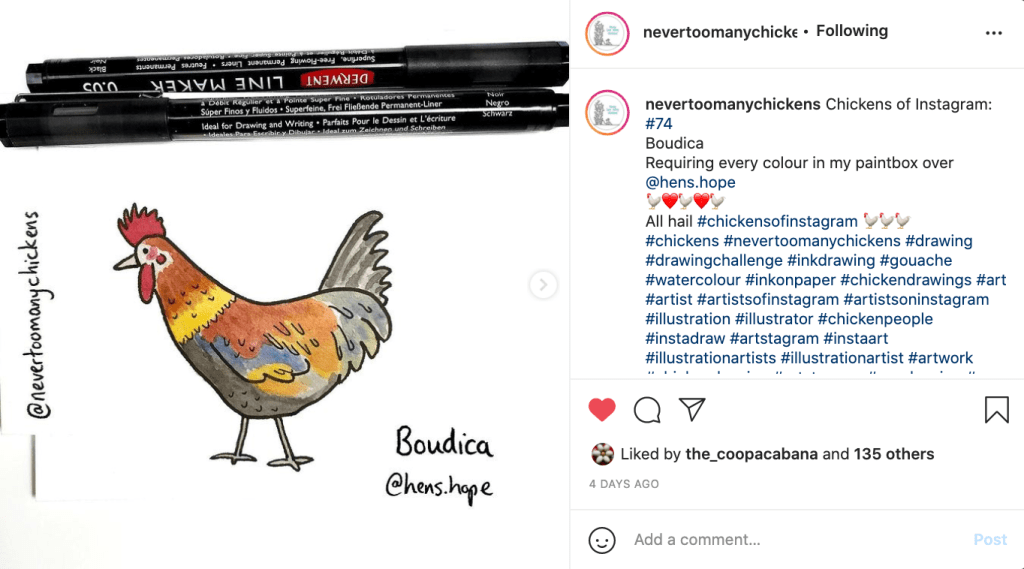
To see more of these, head over to Instagram and follow @NeverTooManyChickens.
Or sign up to my newsletter to get regular updates on all my projects.
