As the title suggests, this year’s Inktober was the most challenging yet. Not because of the prompts, which were fun, tricky, and rich in double-meaning potential as ever, but because of the amount of Other Life Things going on in the background.
That’s why I think this year is probably going to be my last Inktober.
This year I had some major excitements. After more than a year of trying, we finally bought our first home. In the UK this is quite a marathon due to the market. Every property has a ton of buyers, lots of them with loads more money than us, having sold up in London and trying to move out to my area. Not helped by the *sshole estate agents who lie and trick their way through the process, screwing over buyers wherever they can to get a higher commission.
(note – for US audience.. we don’t have ‘realtors’ in this country who are on the side of the buyer – all buyers are completely on their own and therefore regularly get screwed over in favour of the seller).
This was finally achieved in the summer – and although my new studio is currently just full of boxes (we don’t own furniture yet.. fun times!), at least we’re in.
Inktober on the road
In the meantime, we had already planned a trip to the US to see some in-laws who have not been well during/since Covid. When did this happen?
October.. obviously. 🕺
This led to double-trouble.
a) I hadn’t paid any attention to October being Inktober and therefore hadn’t done ANY prep
b) Because of a), I hadn’t made a plan to carve out any time to do it!
So I found myself travelling in the US, having to find time to draw, edit and post. I can confirm that at least one post went up during a 12 hour lay over in Boston airport at 4am 😲😲
I know Inktober is only once a year, but there’s no way I can commit to 31 days of activity any more. From now on I’m going to be focussing on shipping the backlog of books that y’all have been waiting on for over a year.
Every year after Inktober I’ve made a book, or some other product based on that year’s 31 drawings. So this year, rather than a standalone 2022 publication, I’m planning a retrospective with every cartoon from the last 4 years’ of Inktober.
And yes I know, I have a backlog of other books and projects I’ve totally failed to finish this year. Bring on 2023 and let’s hope it’s a lot more boring than this year was!
Big update today, as I’ve now got the first 50 images edited and laid out. Notwithstanding some major issues with scanning, photographing and editing some quite nuanced watercolour work, I feel like I’m finally getting somewhere!
What’s in a name?
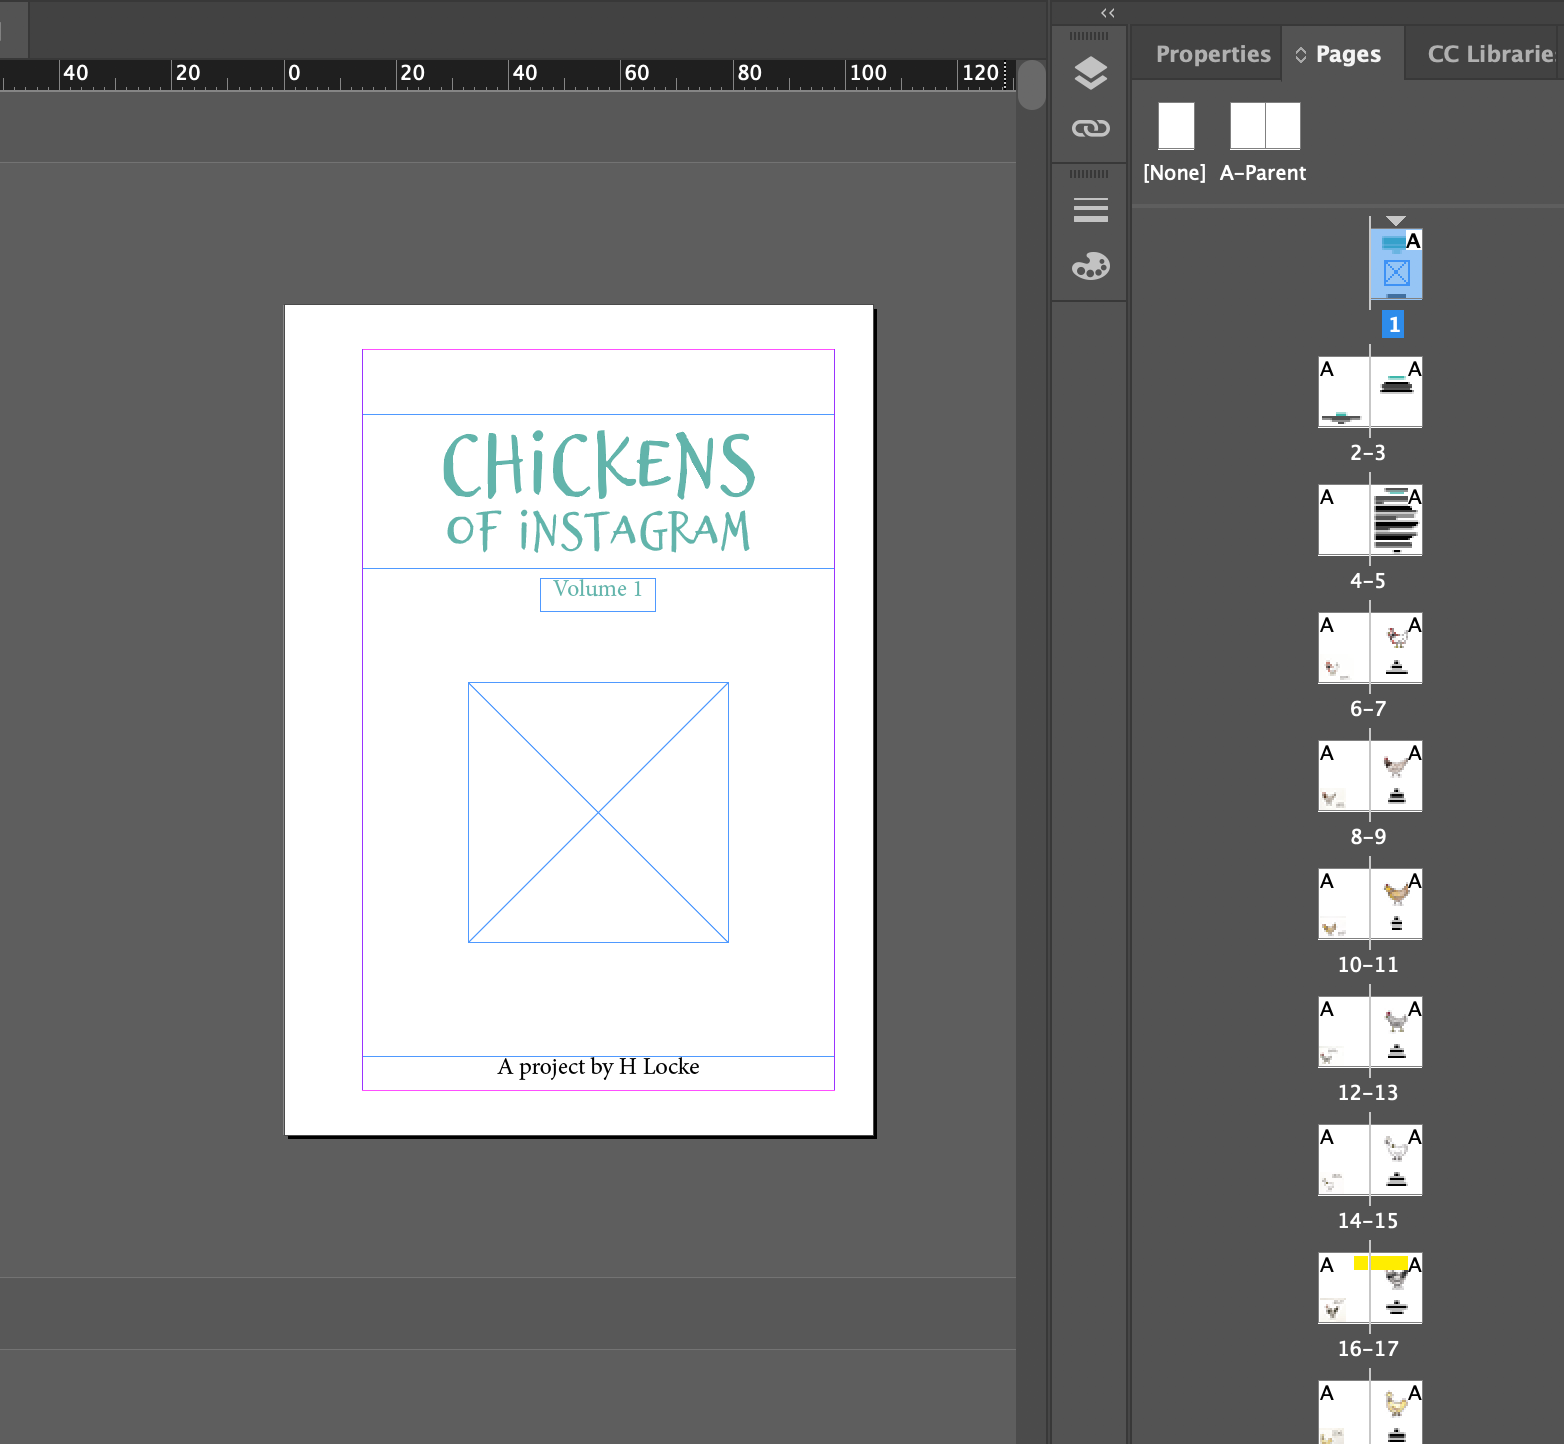
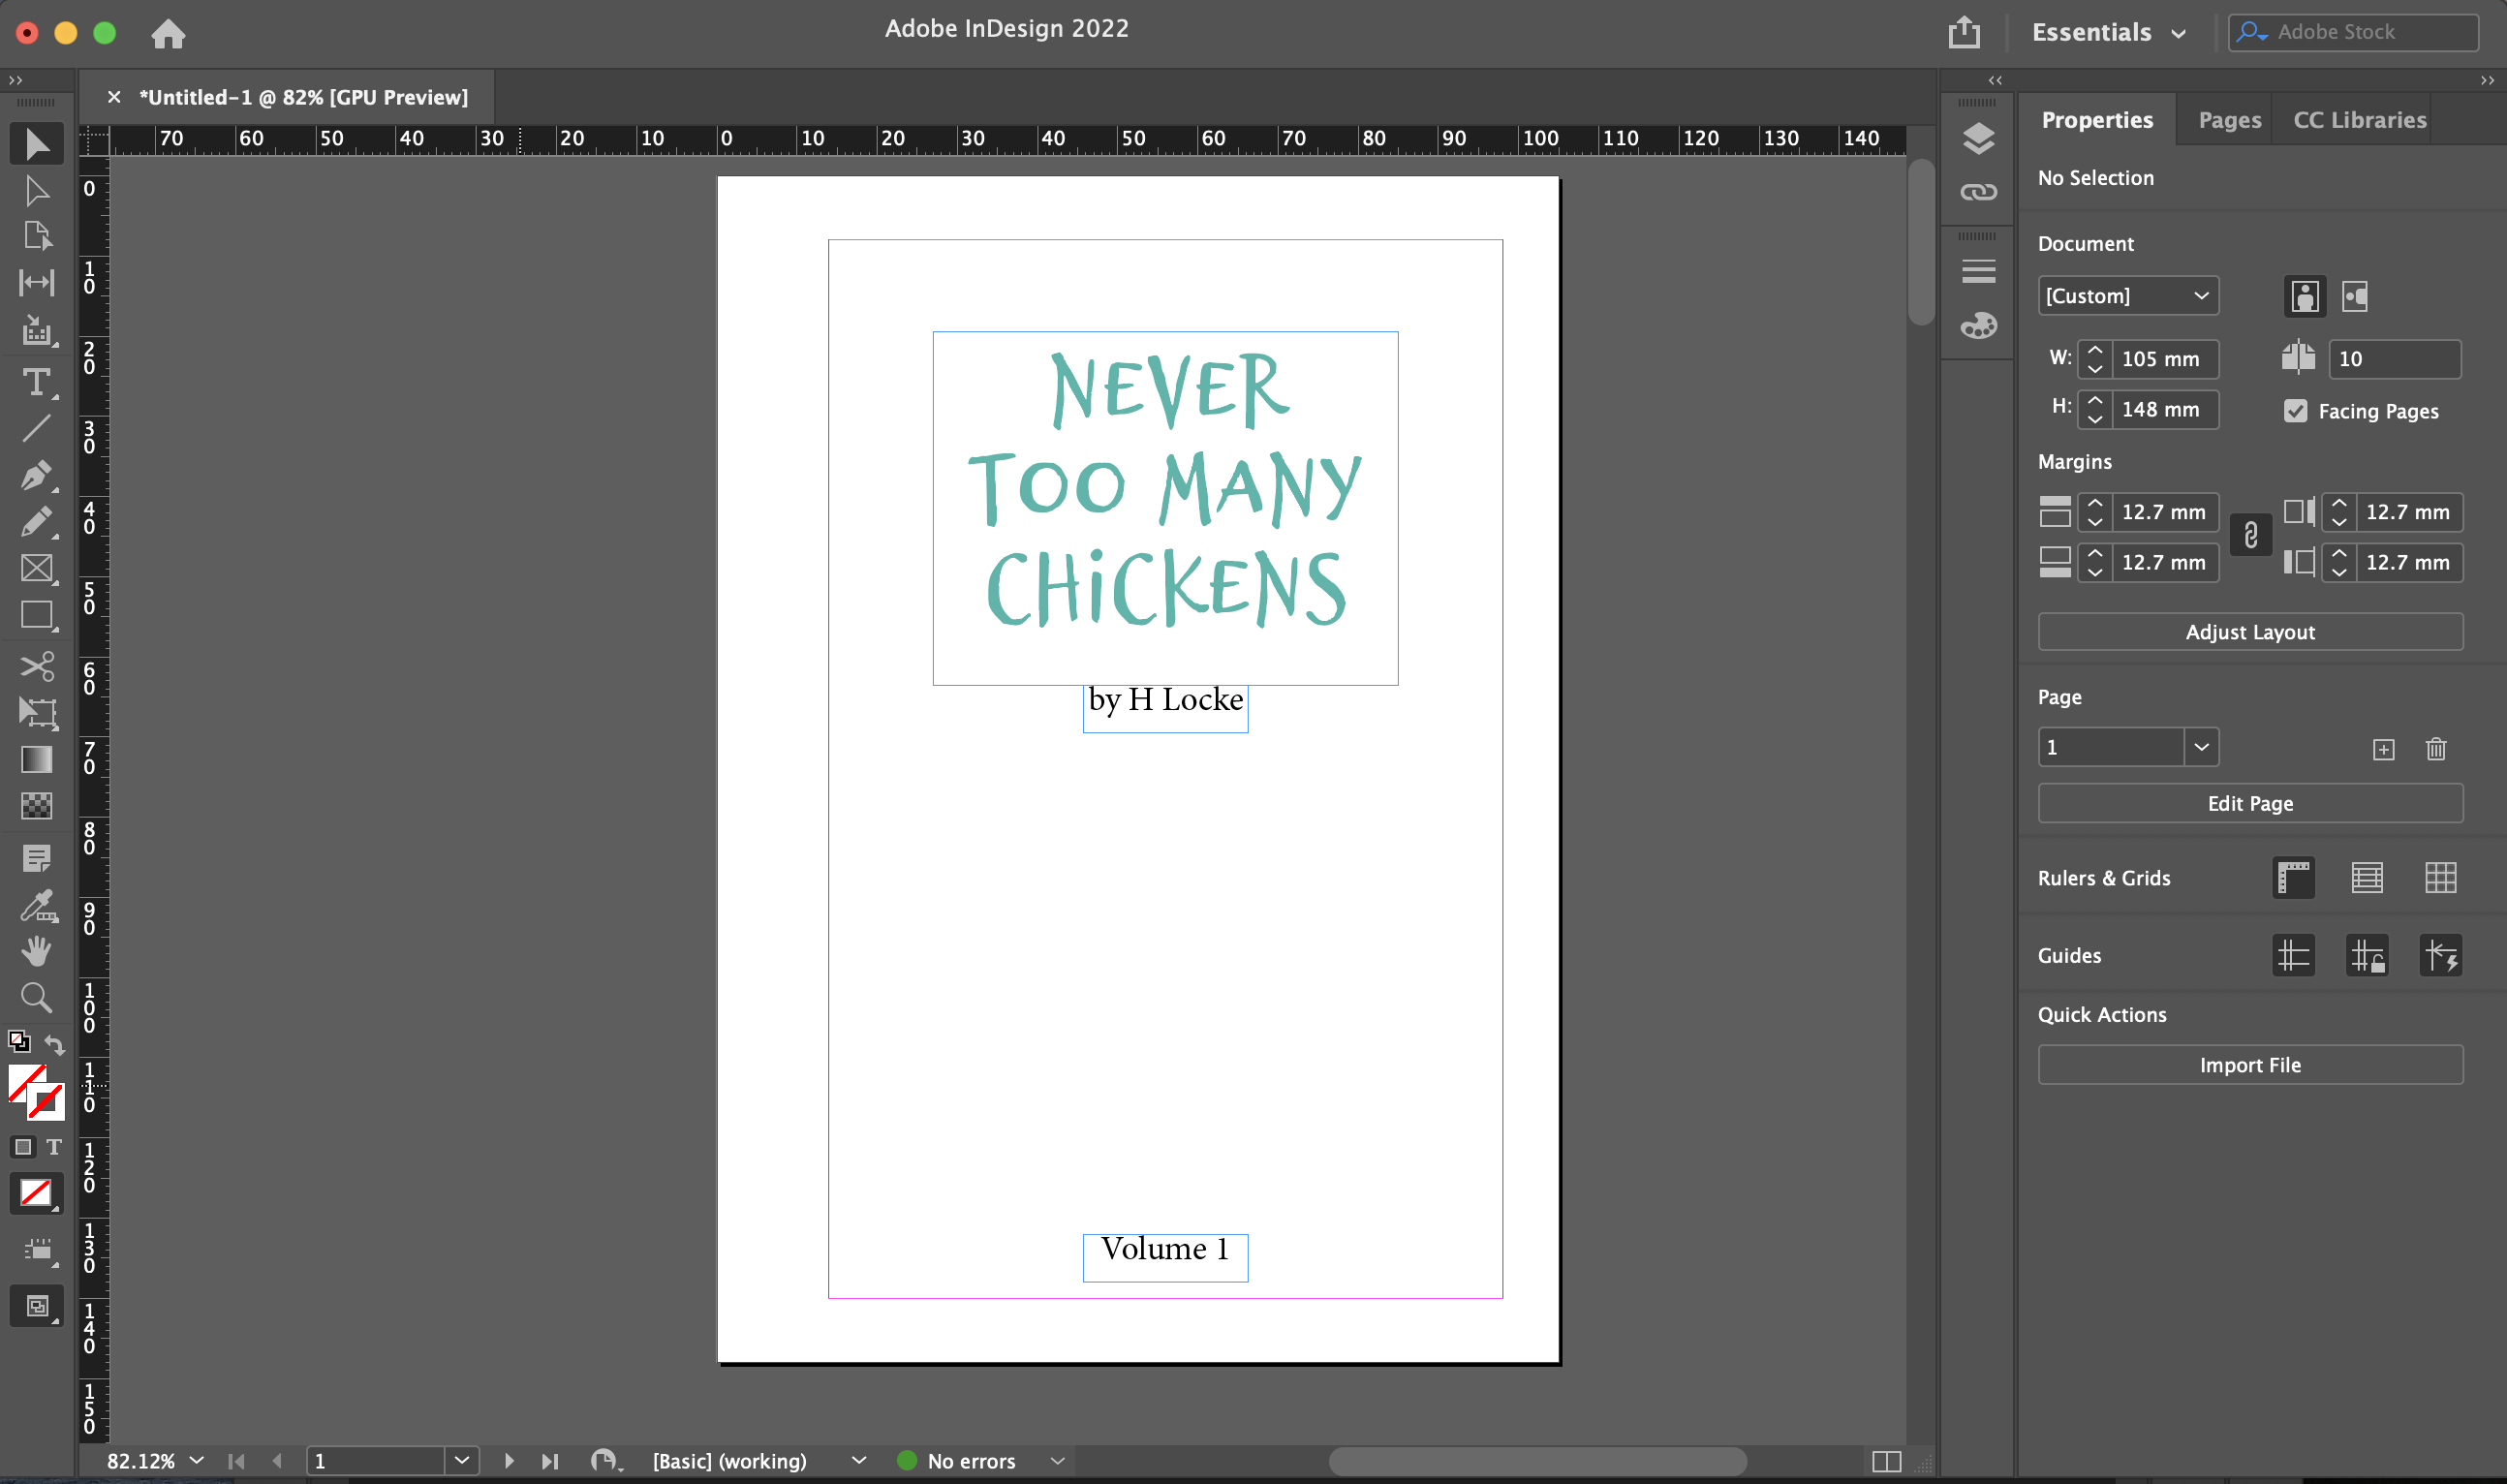
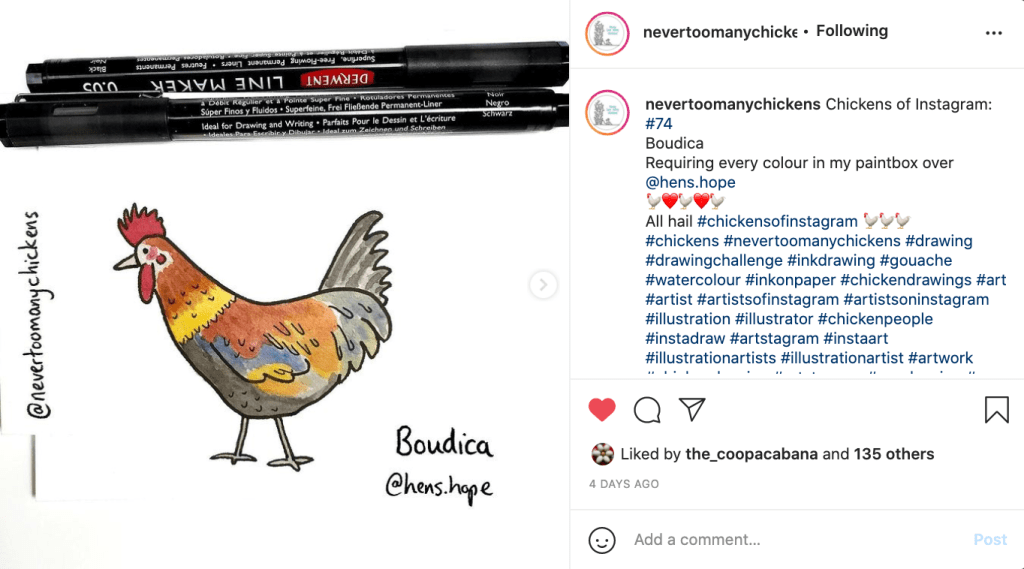
One major update however has been the front cover – as I’ve decided not to name the book after the instagram account (@nevertoomanychickens) but rather after the purpose of the project – To draw the chickens of instagram.
And so, I give you…
Chickens of Instagram (volume 1)
I ended up in a bit of quantum entanglement on this one.. will people know it’s the instagram project if I change it? But will it make any sense as a title? (especially as I’ve had notebooks, stickers and all sorts on etsy for ages using the same title, and with different fonts..)
But I finally settled because well, it does what it says on the tin. And with the “volumes” approach – it will keep me going with the project which was to keep drawing.. the chickens of Instagram.
VOTING
So the next question, obviously, is who is going to be on the cover?!!!
To decide this, I am open to comments, messages and voting on the channel of your choice – you can:
• Comment on instagram
• DM on instagram
• Comment on here
• Send me any other kind of electronic communication of your choice.
I’ll publish the result as the front cover.. when it’s gone to print! 😅
For ages I’ve been massively admiring other peoples’ instagram pages, especially those with consistent covers on their story highlights, so this week I did some investigation to find out how to do it – so that’s what I’m sharing today.
Let’s start with the results because that’s the fun bit! Here are my two accounts:
Now let’s look at how we get this.
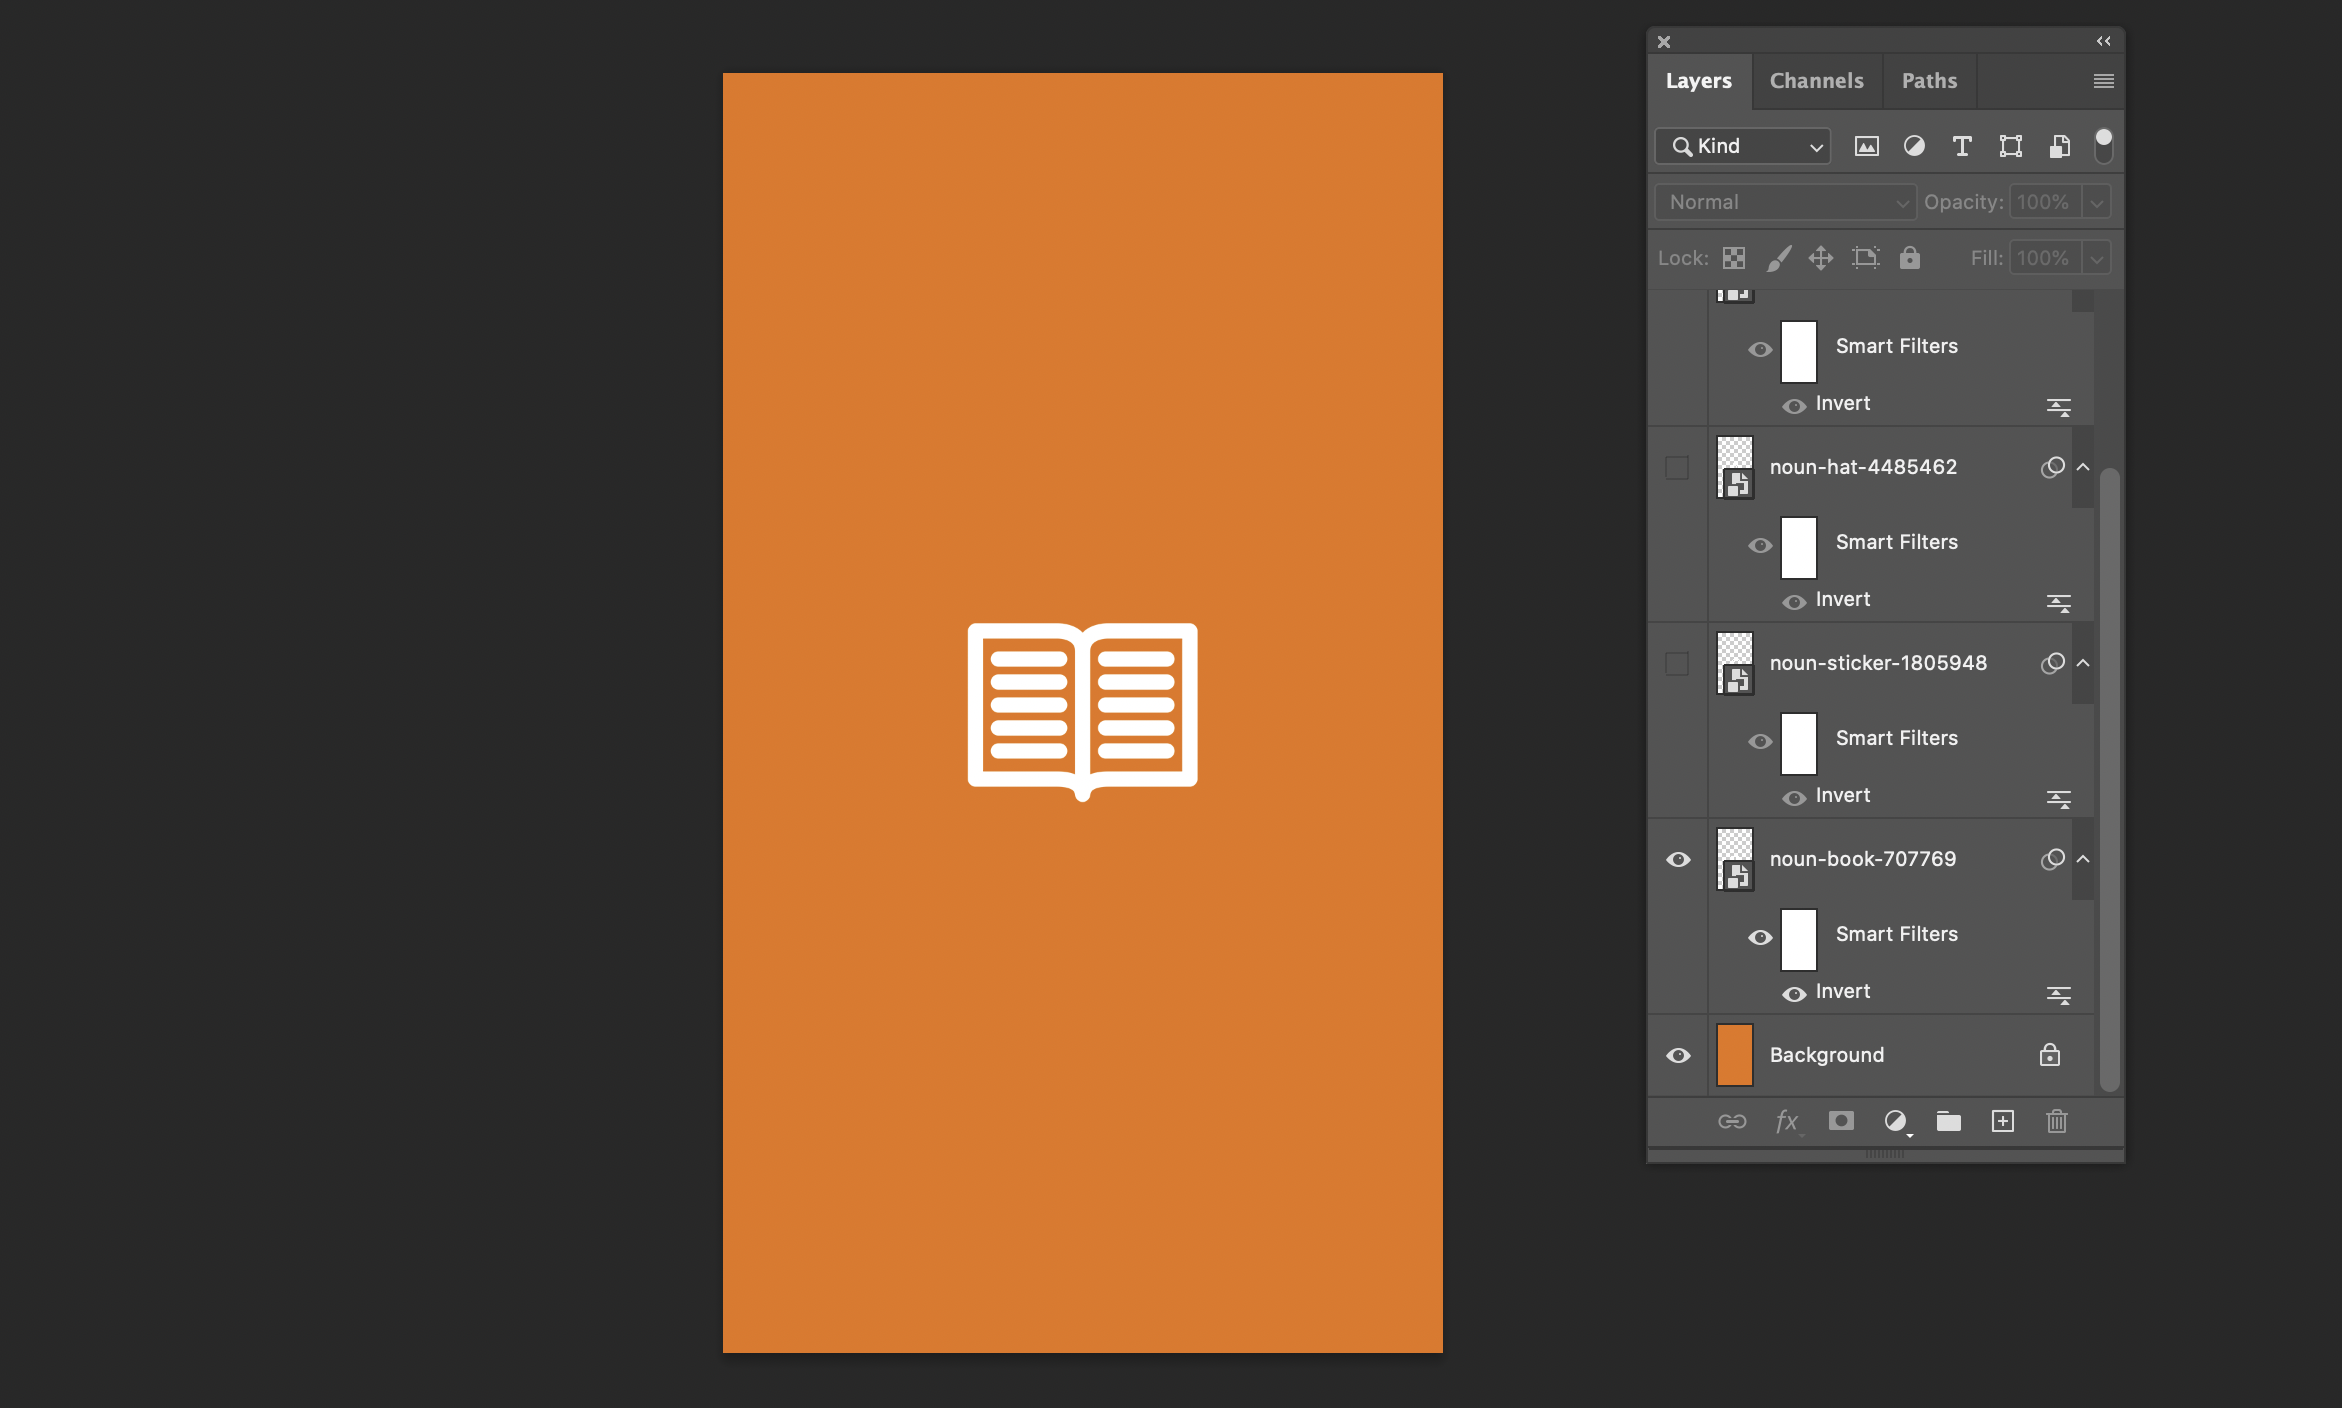
Step 1 – Make the covers
I made these in the most simple way possible – in Photoshop.
Create a portrait rectangle in Photoshop (1080x1920px)
Fill it with a solid colour
Grab an icon from an icon library (I used Noun Project)
Centre it
Save out as a jpeg
Step 2 – Add to Instagram
I’m assuming you’ve already created some stories and saved them to your page as highlights.
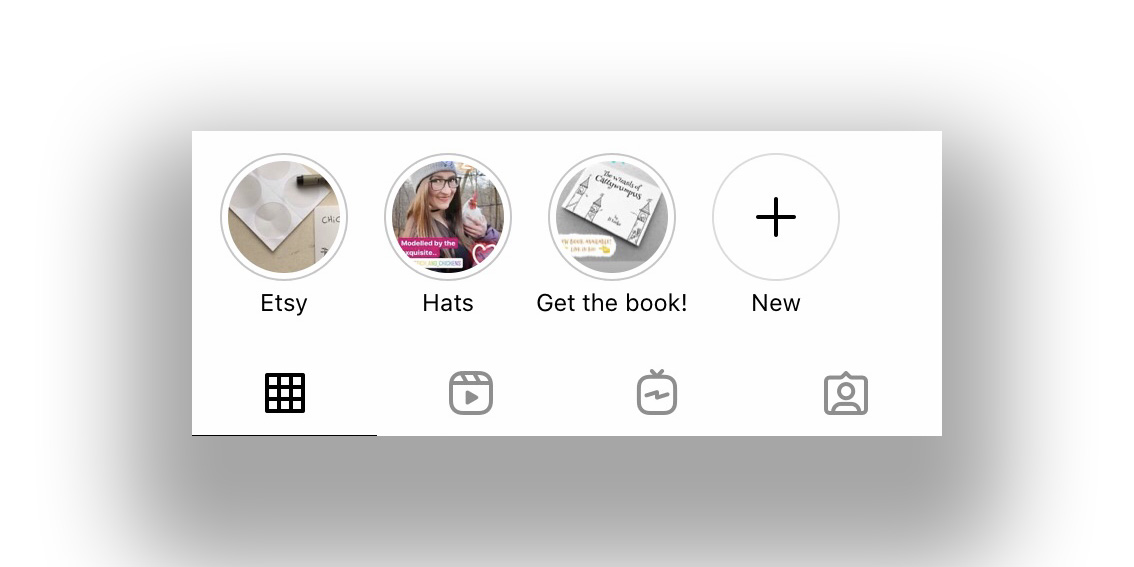
Next, tap into one of the highlights. And choose “more” from the bottom right.
Next we want to edit the existing highlight
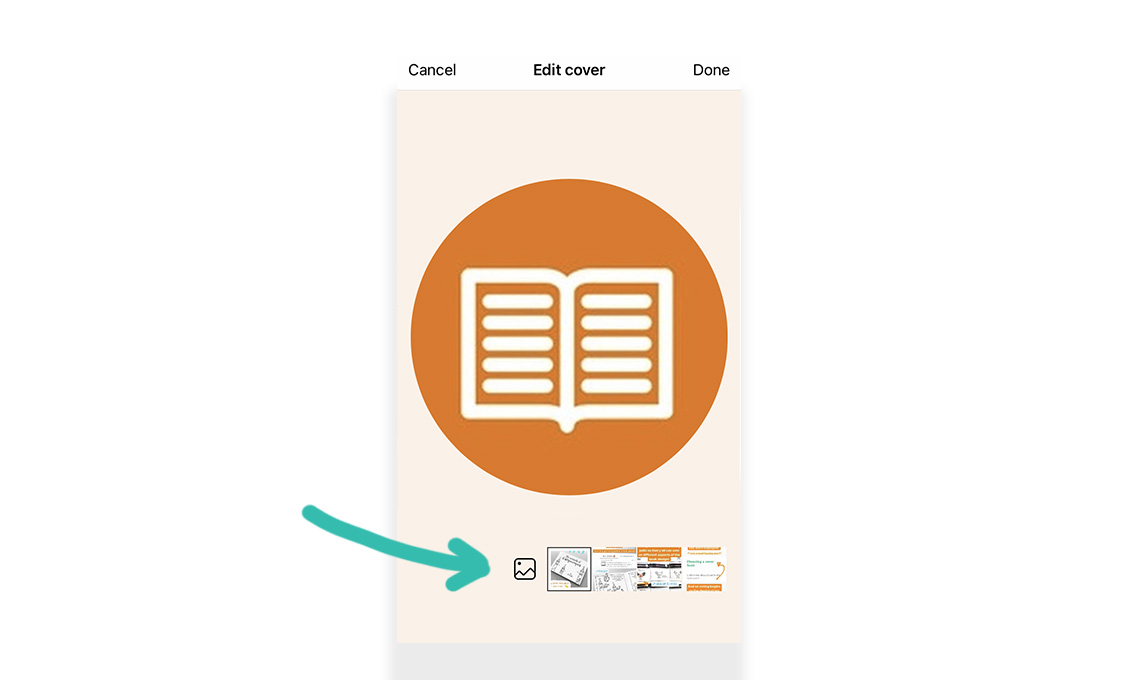
Now open the cover editor
And finally, choose a new image from your photos and adjust the image so it looks how you want.Then save!
If you do this for all your highlights, your page should end up looking something like this:
Well it’s finally time, and I’m going to start putting together the first volume of “Never Too Many Chickens” – a book based on the Instagram art project I’ve been running for the last 2 years.
This started in Feb 2020, right before the first UK lockdown, where for some reason I decided it would be a fun challenge to draw the various Chickens on Instagram, with their own accounts or featured on their owners (..parent’s..?) account.
The premise was that anyone with an account could nominate their own chicken, provide their name and I’d add them to my list.
List became very long very quickly. I also found it went out of date fairly often, so I had to keep re-asking for recommendations and permissions!
I’ll do a full project run down at some point in the future, but for now, here are some pics of my initial set up – as I take hi-res images of the originals, plus a short video because Fun!
Here I’m using the IPEVO V4K high definition usb camera, which I have attached to my MacbookPro. This is an upgrade to the basic iPhone photos I’ve been taking for the Instagram account, so should hopefully produce something usable for publishing.
I tried to be a bit prepared for this year’s Inktober, but as usual it came with its share of unexpected challenges.
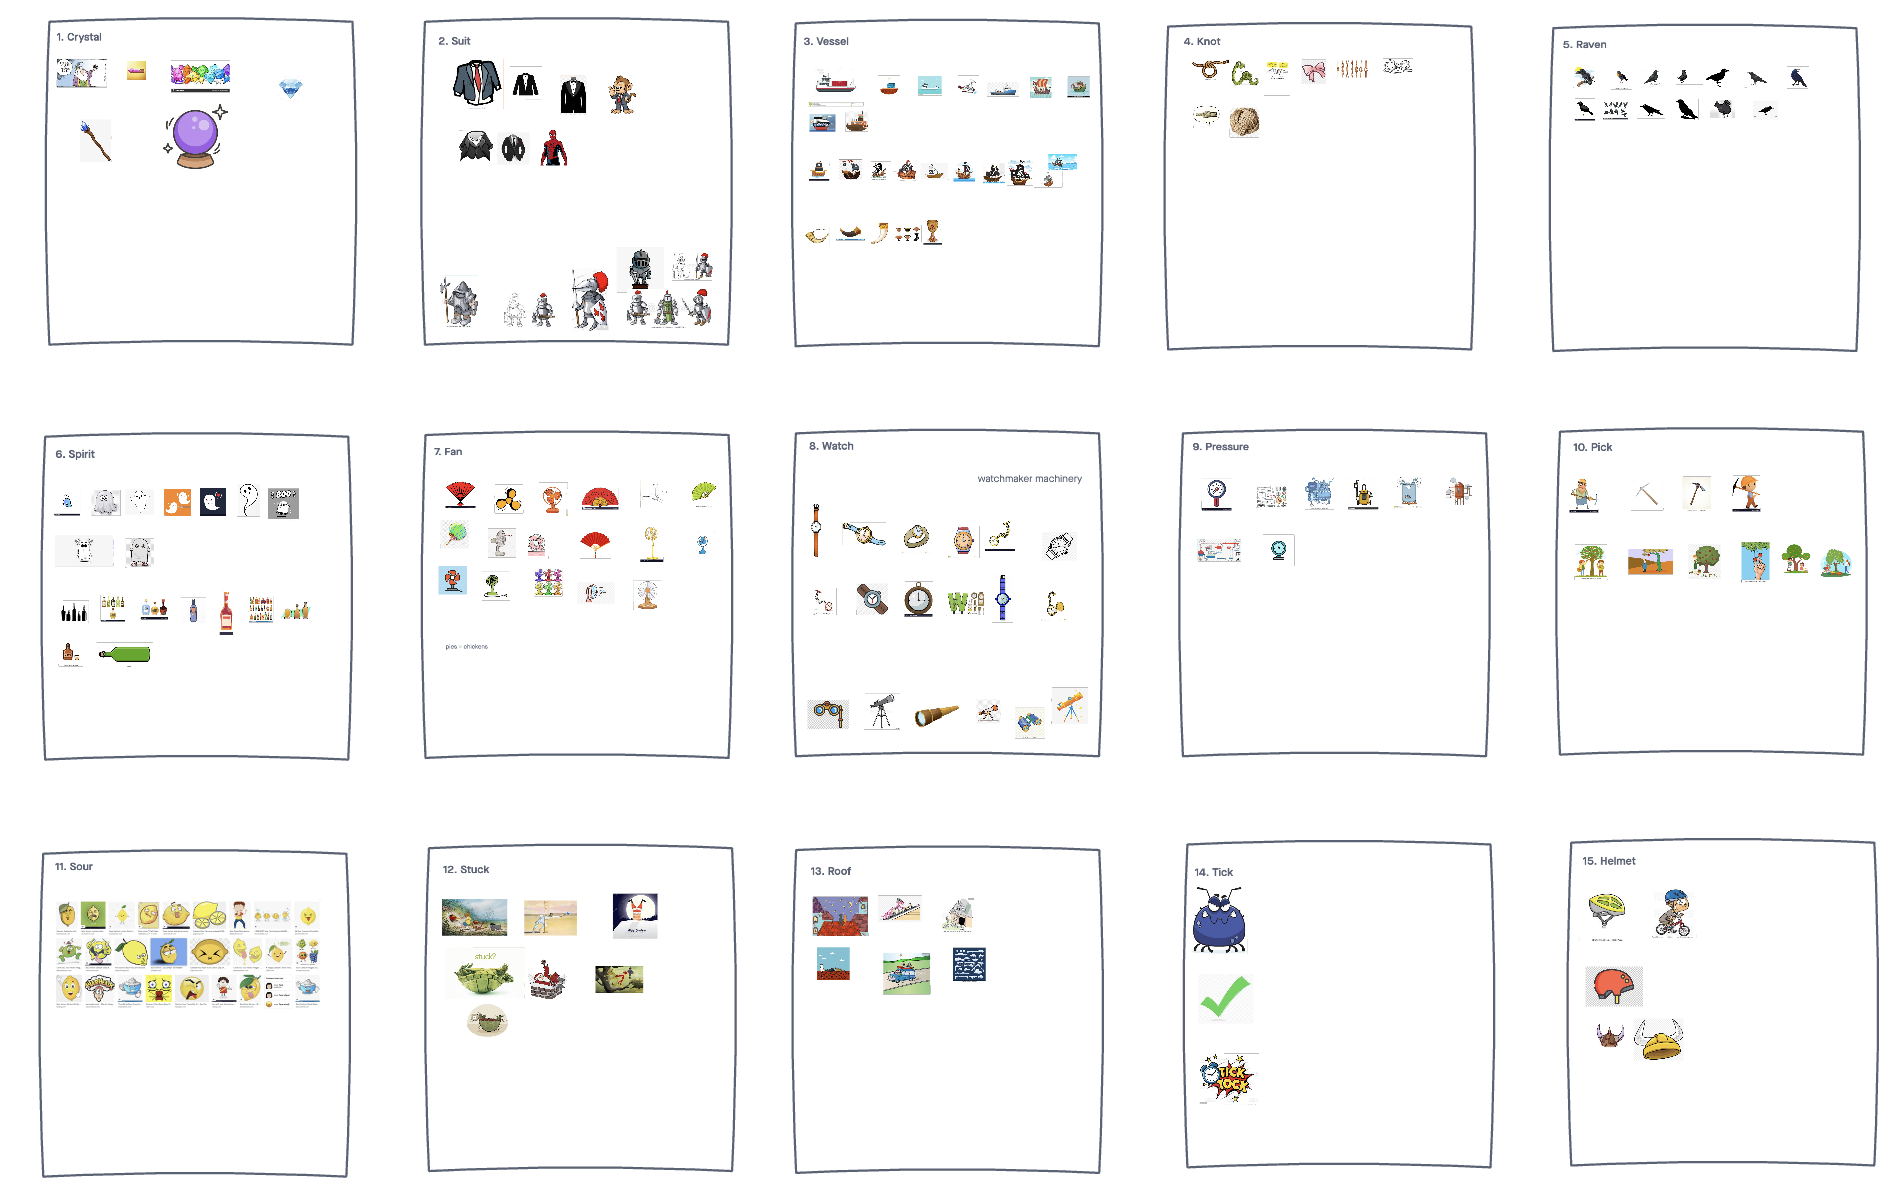
Preparation
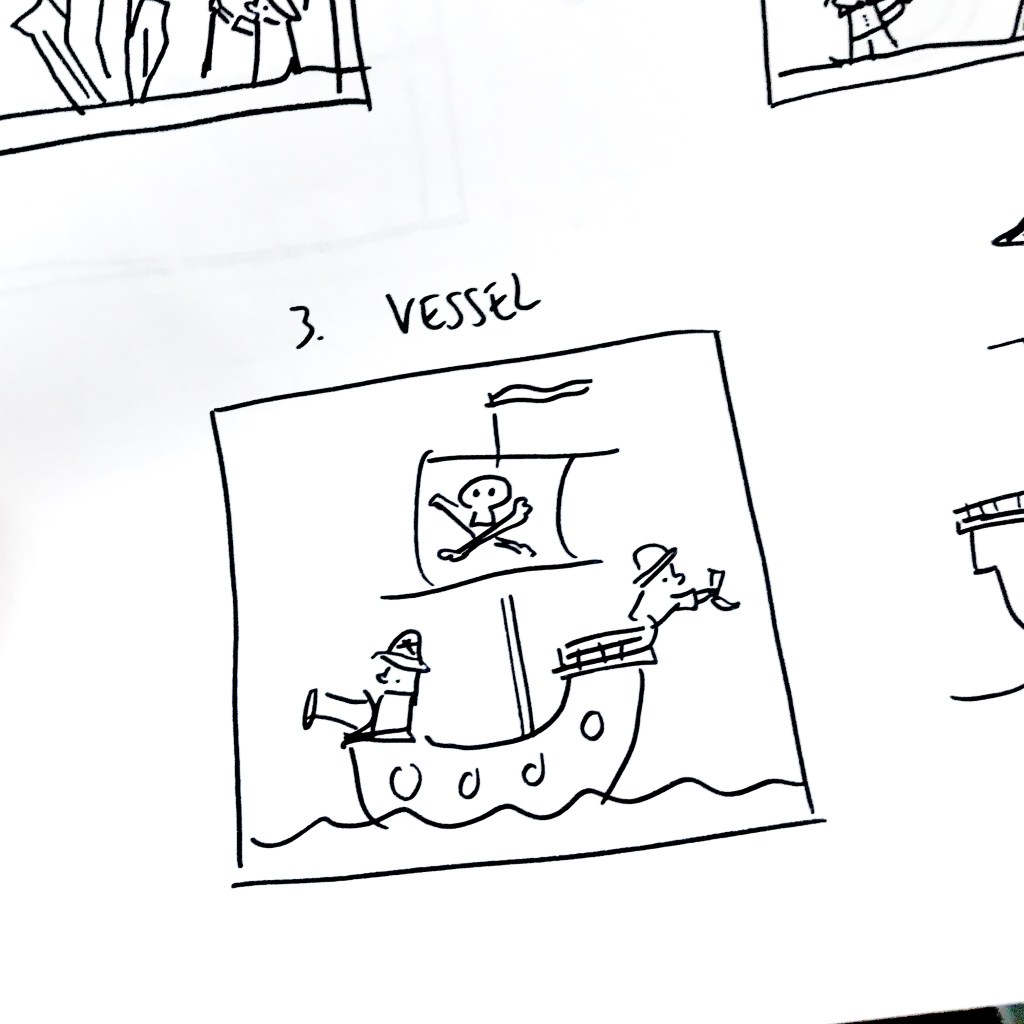
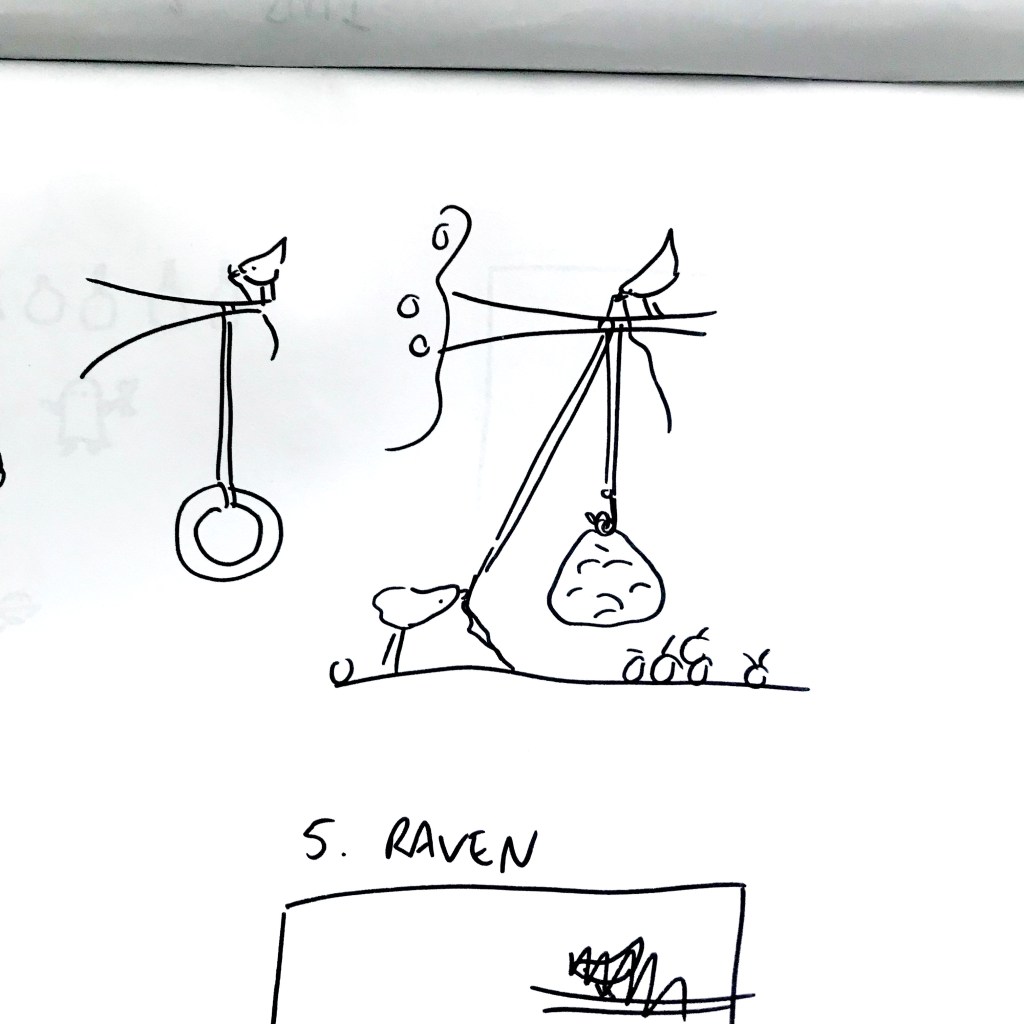
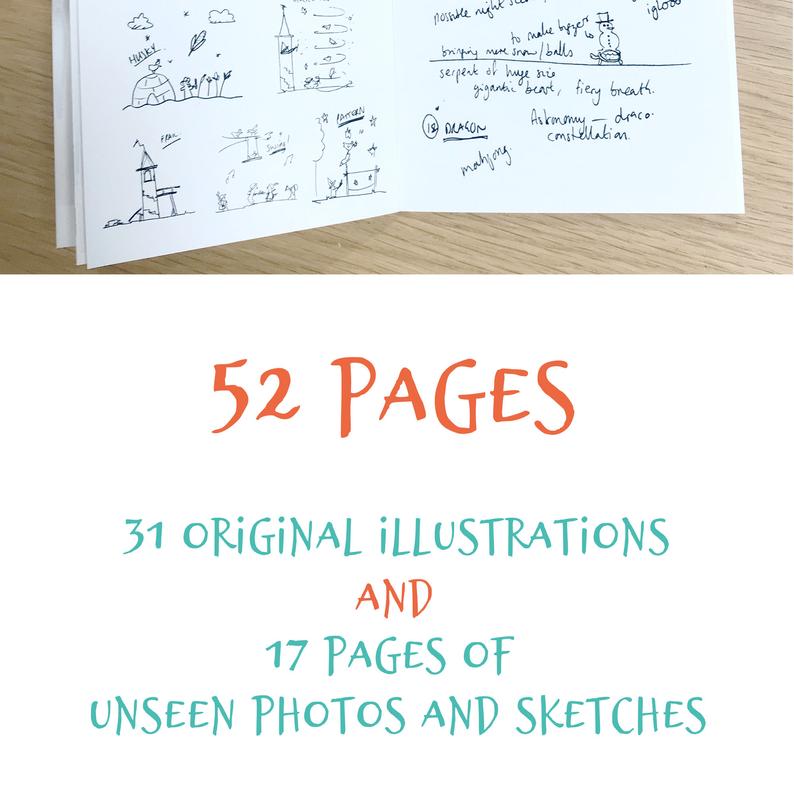
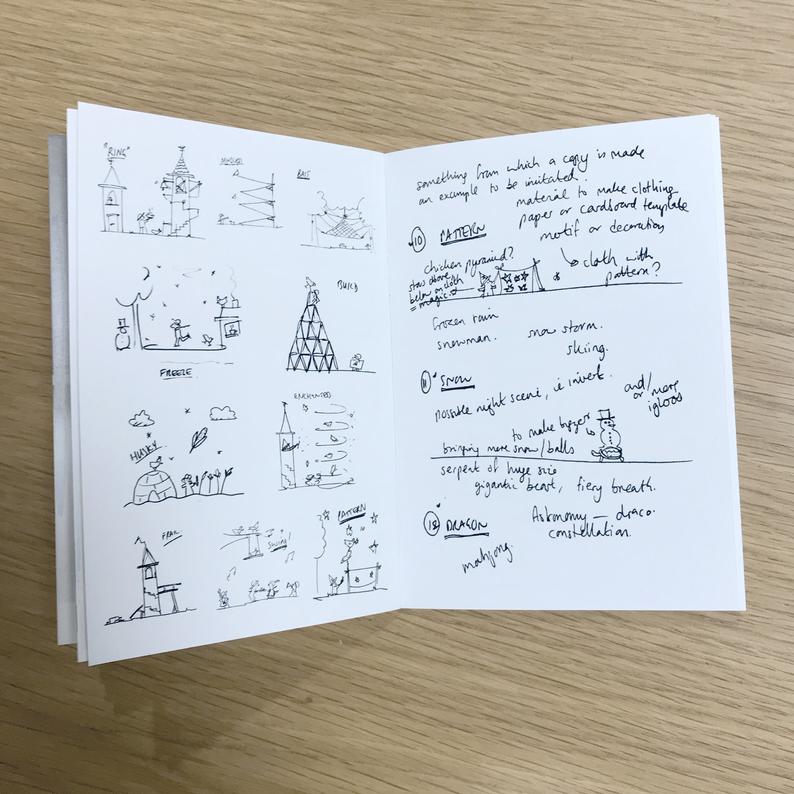
As in previous years, I tried to have a bit of a think about the prompts before the day itself, mostly by creating a sort of mood board of inspiration for each word.
Launch
I was extremely excited to start this year’s Inktober, especially as I’d not been very active on Instagram for a while (Covid, busyness etc) so of course it was an extra challenge that I was immediately blocked by Instagram for two weeks for no reason and with no way to appeal.
So, I launched Inktober on TikTok, Twitter, Tumblr and Pinterest instead.
Keeping up
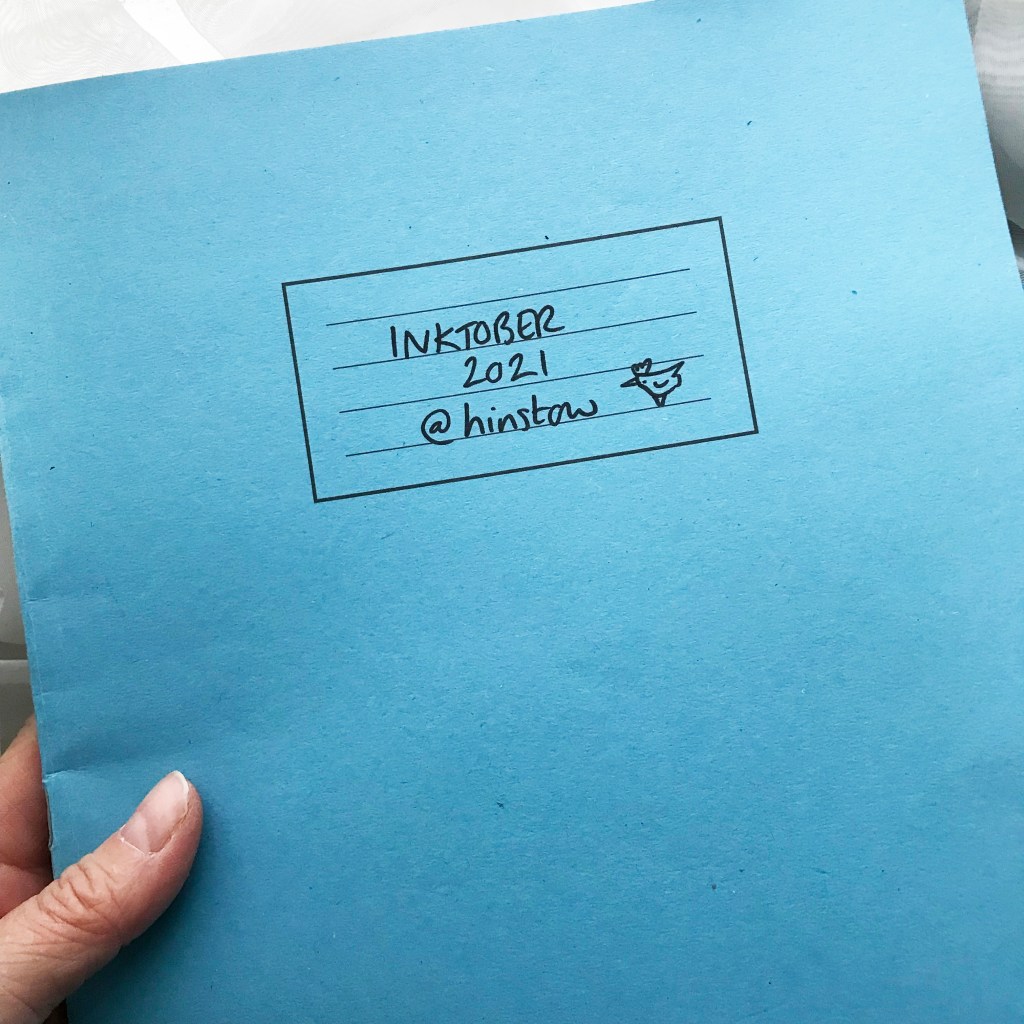
As far as each day’s drawing, I used one of my standard exercise books to draw one or several preliminary sketches for each prompt.
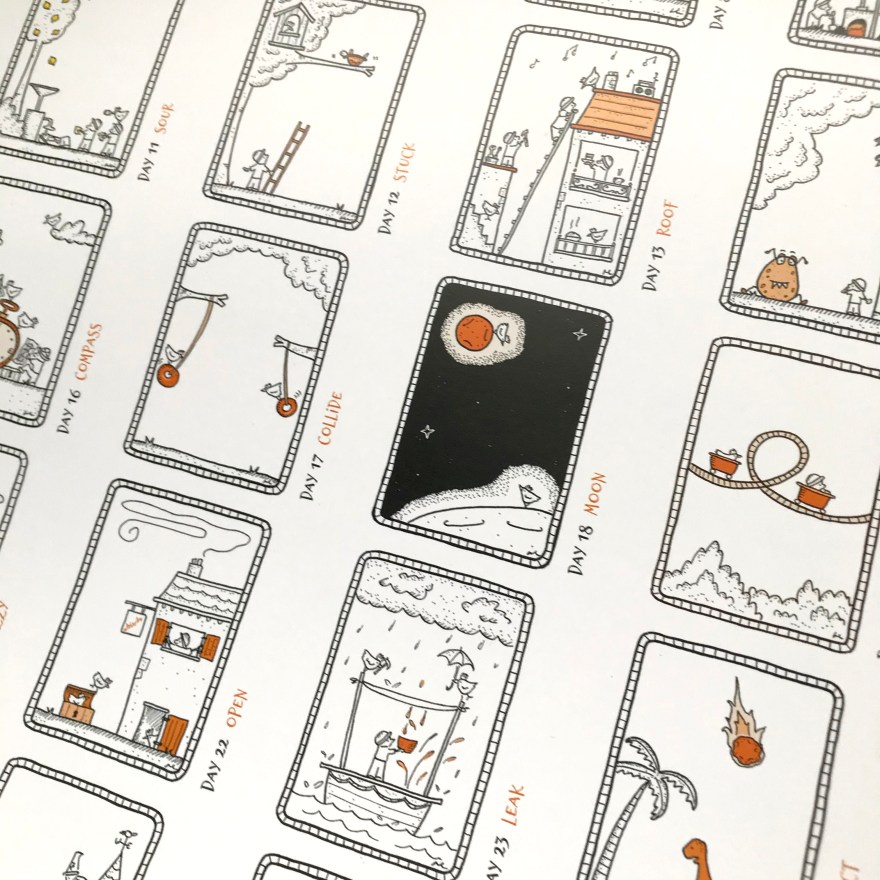
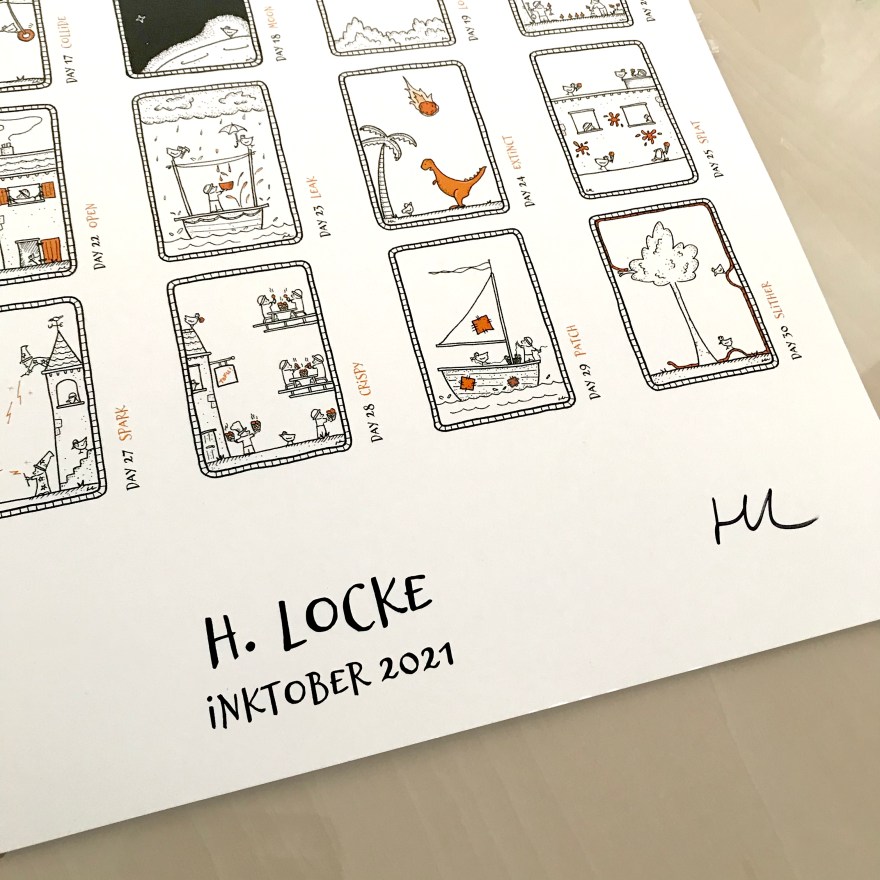
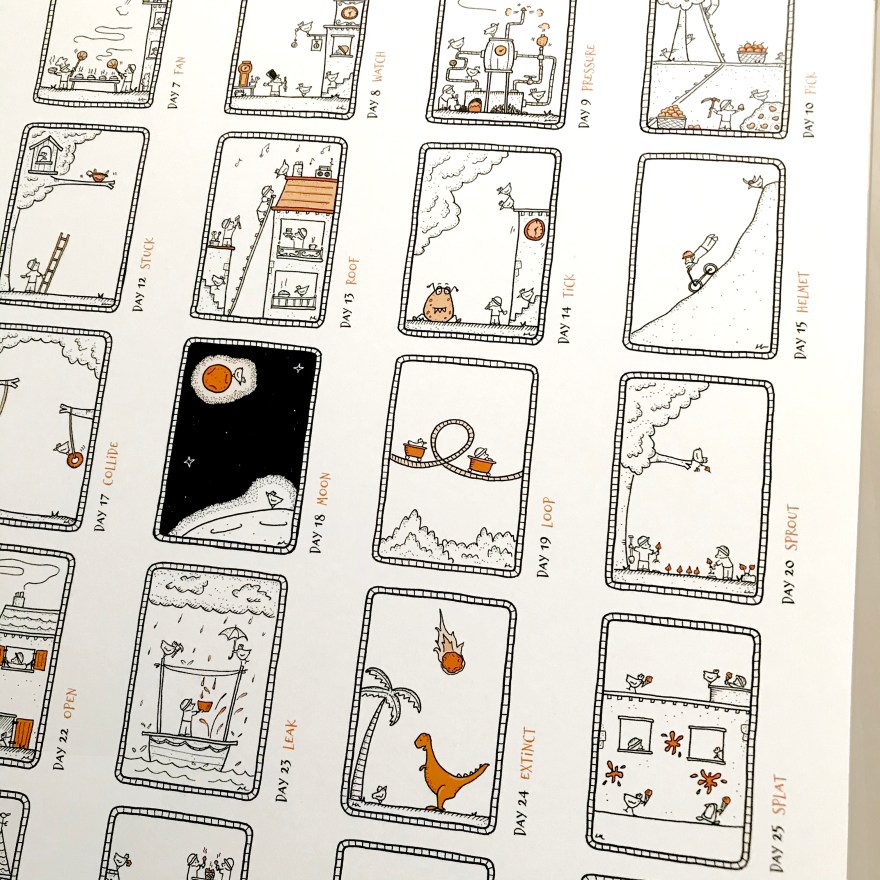
For this year’s final output I made an A3 poster of all the drawings on one sheet. I was really pleased that the dark image (Day 18 – Moon, which is the most dominant) fell in the middle of the series.
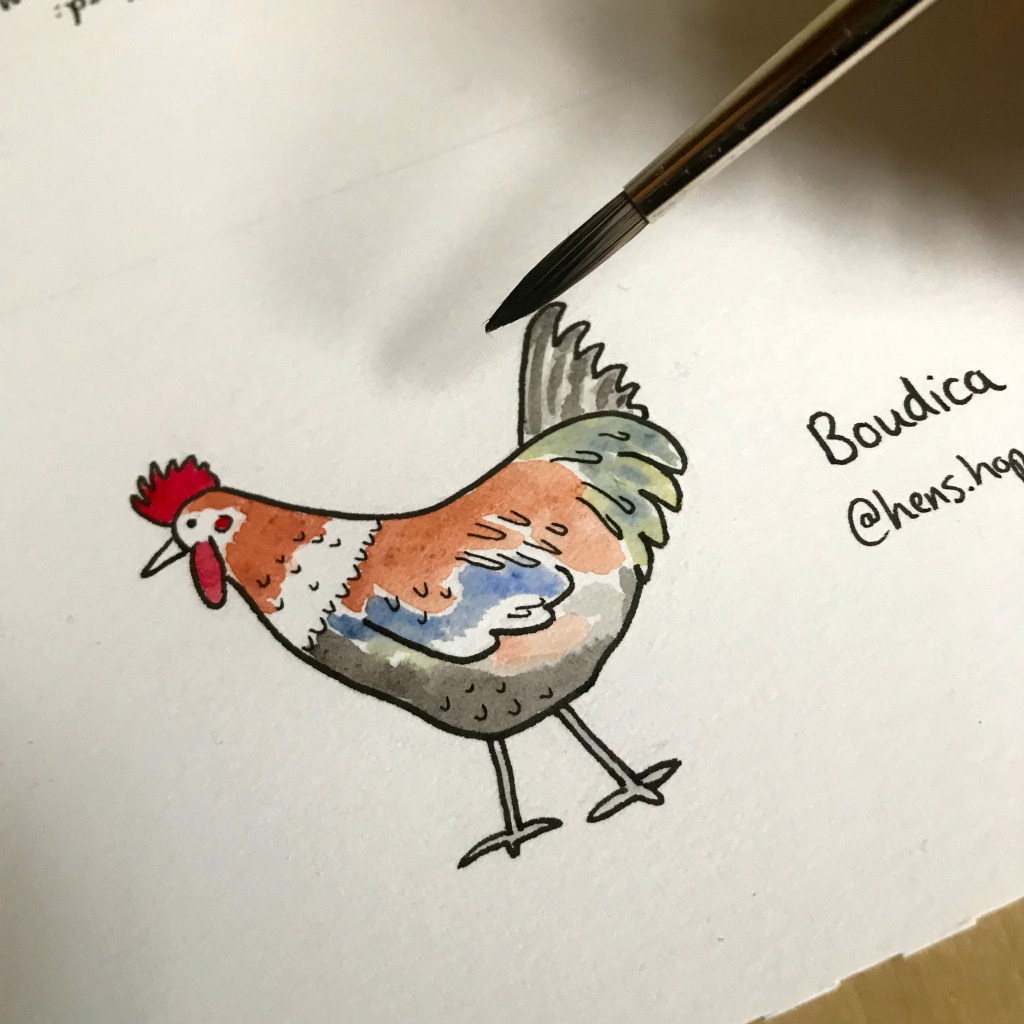
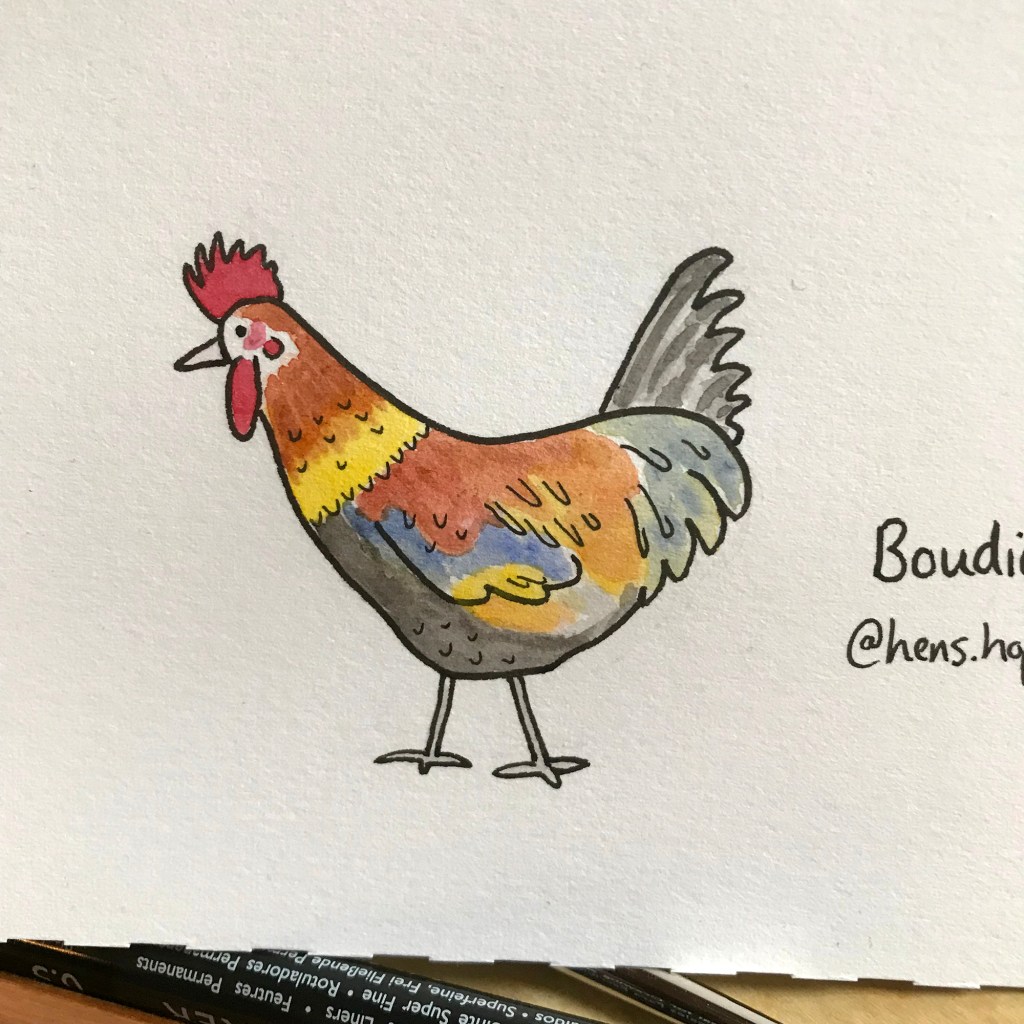
Today I’m sharing my approach to watercolour and ink drawing which I use for my instagram project, @NeverTooManyChickens.
All of these are original drawings, using ink pens and gouache (watercolour) on watercolour paper. For instagram, I usually do further editing of the main image in Photoshop to make the colours look more like they do in real life, rather than what the iPhone camera captures.
Materials
A quick summary of materials, before I walk through my process and my “whys”:
I’m lucky that instagram is full of chickens and chicken parents who nominate their critters to be drawn!
Look at this beauty..
Pencil (for once)
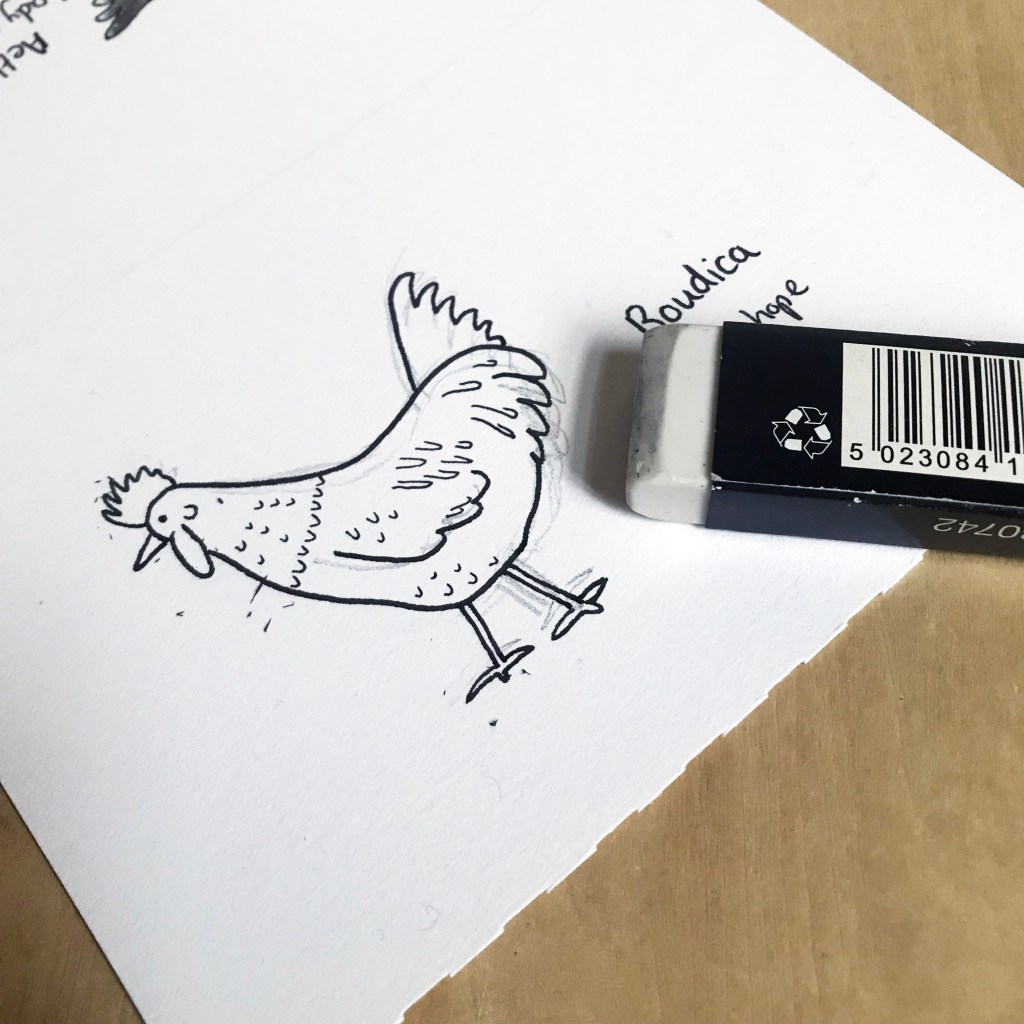
My first step is to draw a rough pencil outline, and then ink over the top. This is the only project I have where I actually use pencil first rather than going straight to ink. This is because, frankly, I’m not terribly good at drawing real chickens from life – hence I started the project to get better at it!
Winsor & Newton graphite pencils
For this I’m using a standard 2B graphite pencil from Winsor & Newton. If you’re working in pencil you probably have, or should get, some kind of box set as it’s more cost-effective. This studio collection from Winsor & Newton is standard and reliable, but there are a lot of options out there.
Inking
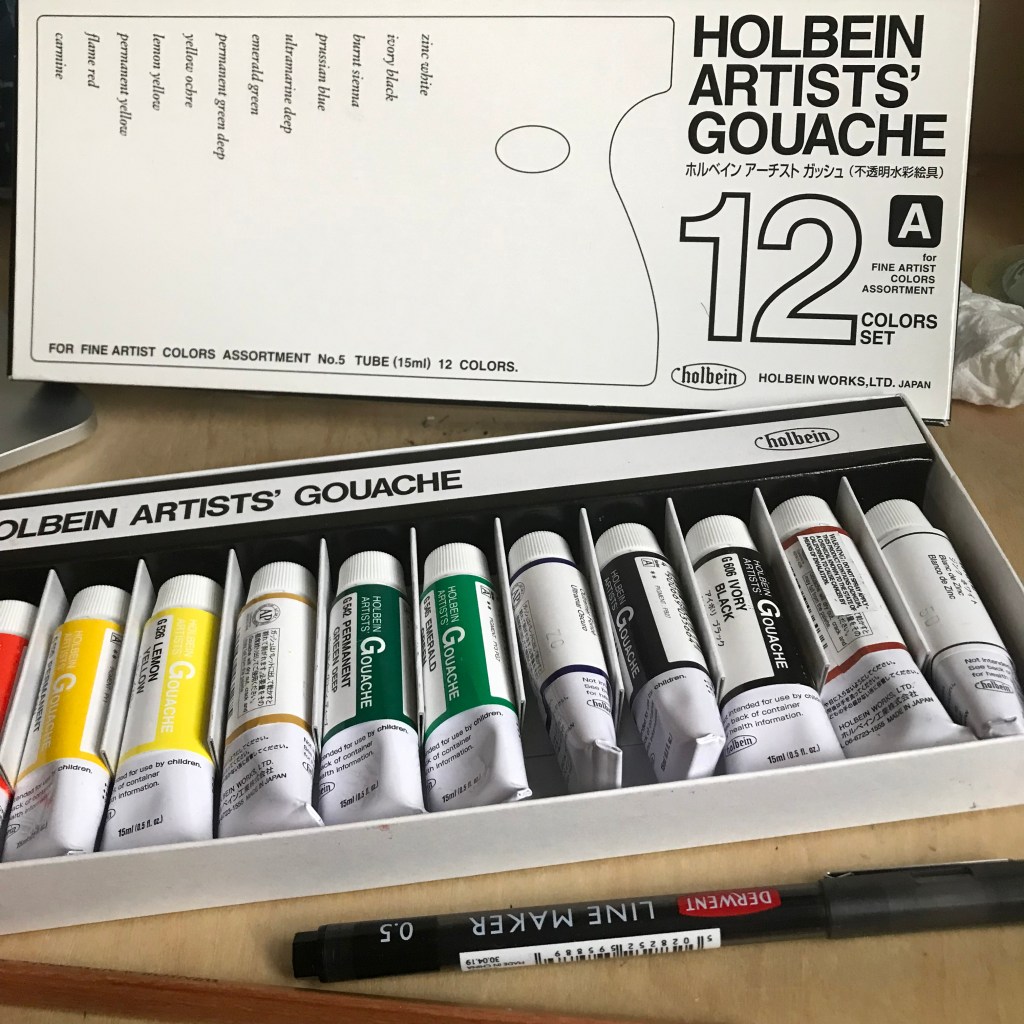
Once I’m happy with the rough shape and features, I then create a line drawing. Here I’m using Derwent Line Makers and using a standard plastic eraser. My pencil is quite light, and as I’m using pigment pens and erasing carefully, it doesn’t damage the ink work.
Painting
From there I just attempt to match the colours as well as I can. I have some key go-to colours from the Holbein Artists Gouache set that I have set up in my Daisy Palette.
Because it’s watercolour, I can let it dry out on the palette, keep it covered, and reuse it each time I need to work.
These are small drawings, so they use very little paint.
Using this little paint, with this much accuracy means it’s almost more like inking the image than traditional painting.
For Boudica, you can see that I had to go outside of my core colour base and add blue and green! Not your usual chicken colours!
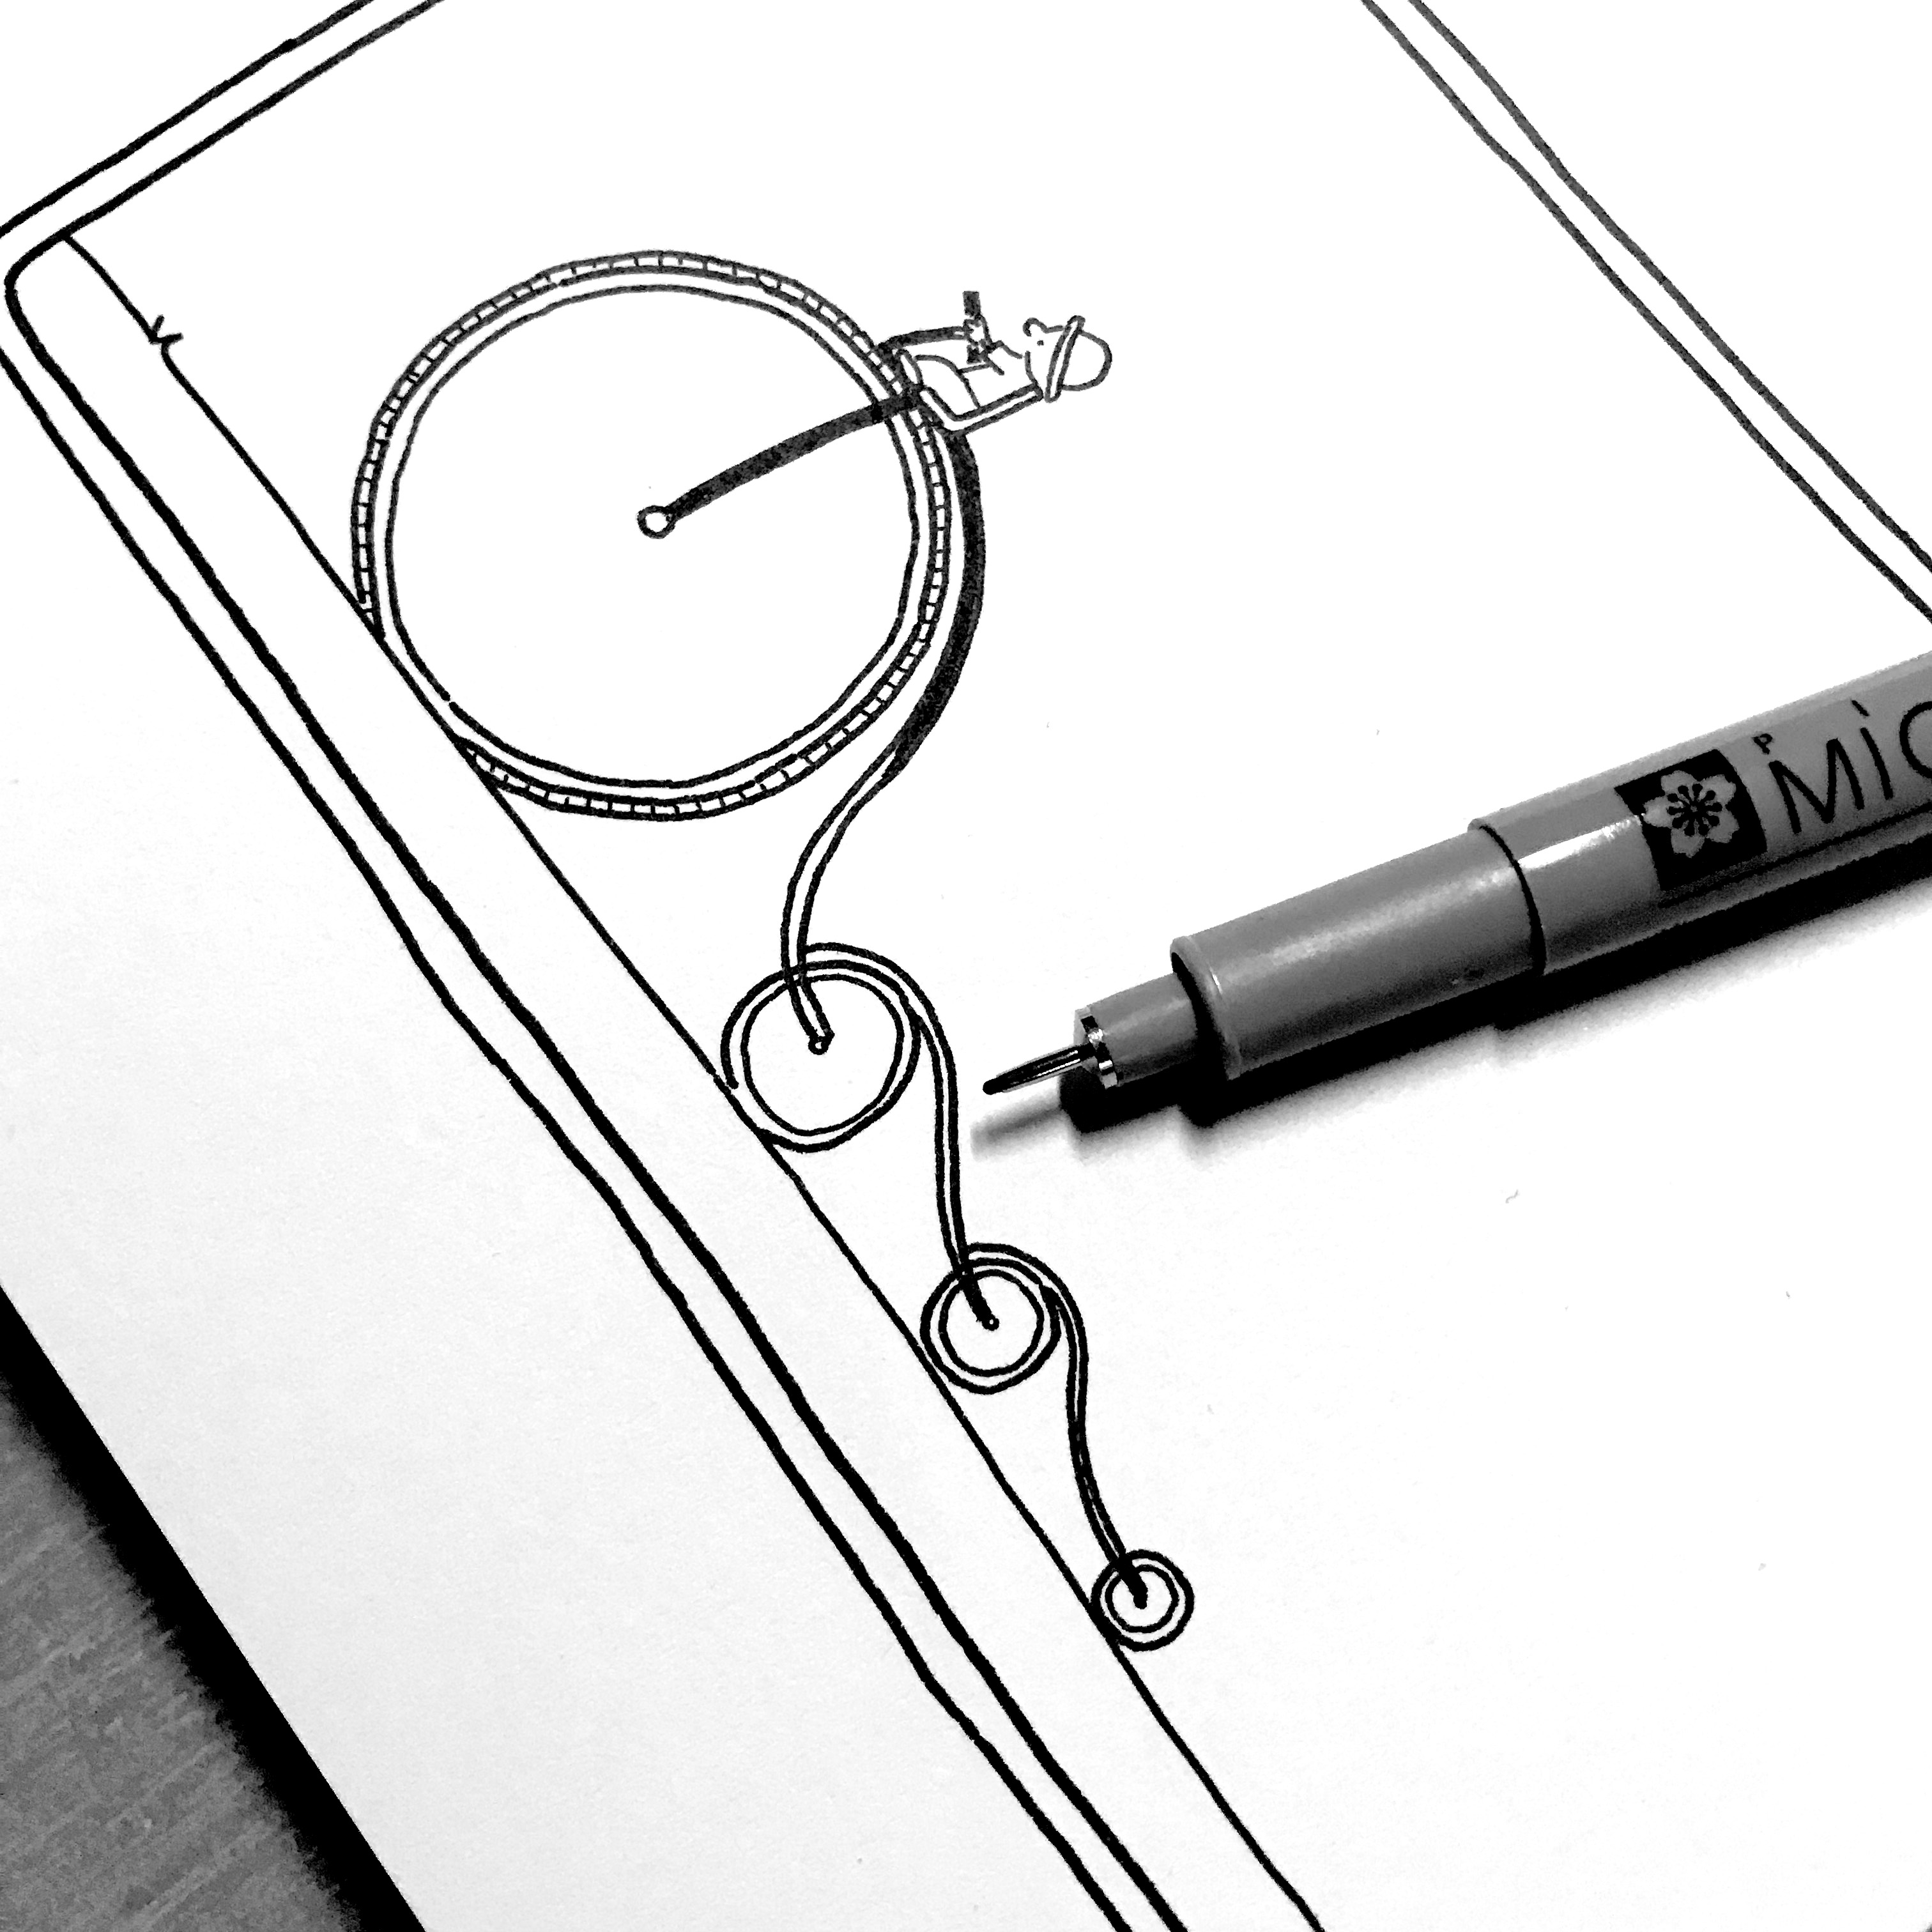
A recent commission titled: “Delivery Bike” (SOLD) Ink on paper.
I often get questions over on Instagram about what I use and how when making my ink drawings. So that’s what I’m going to cover today!
Method
It’s probably important to know the “what I am trying to do” before any of the materials decisions make sense!
Pencil or no pencil?
The most frequent question I get asked is “where are the pencil lines?” Well that’s simple – I don’t use pencil. Not sure why, but I’ve always just gone straight to ink. I think it might originally have been laziness, or a dislike of the way most erasers damage the richness of the ink, or it might have been to stop myself over-thinking everything I draw!
Probably all of the above.
Straight to ink. No pencil, no safety net.
Materials
For black and white line drawing, I basically only use two things – pen and paper. I like to keep it simple, which I think is reflected in the work! Also, the fewer materials I have to carry round, the less set up – and this means I’m more likely to sit down and draw something wherever I am, rather than need some elaborate set up.
This is particularly useful at the moment, when I’m living between cities and without a single large studio to work in.
Pens
The most important thing for me is pigment ink; the work has to be light-fast. Also, I prefer pens that are waterproof as it reduces the chance of smudging, especially on a hot day!
#1 Sakura Pigma Micron Fineliners
My go-to pens for many years now have been Sakura Pigma Micron Fineliners. I have a standard 6 pack in every drawing bag and case I have, but you can see the full range here.
I used them through Inktober 2020 and I still use Derwent Graphik Linemakers for my project @NeverTooManyChickens. I can’t remember why I didn’t use the Microns – it might have been that I didn’t have any to hand, or someone had given me these to try, but now it’s a habit I can’t break.
Part of me wonders if they feel slightly more robust when drawing on watercolour paper – that’s the only thing I can think of.
#3 Unipin
Unipins were the first drawing pen I ever used, and so they have a special place in my heart. I also still believe that their 0.05 is the finest out there without investing in the inky mess of Rotring Rapidograph.
#4 Molotow Blackliner
A late addition to my suite of pens is the Molotow Blackliner – but oh my these are delicious. I think I was gifted some to try and fell in love. They are really dark black and flow really well. I used them for my entire book The Wizards of Cattywumpus because they were just a joy to use. A little harder to control the ink flow, so I still stick with my Microns for day to day use, but I adore these.
Paper
Ok, so paper is tricky because.. “it depends”.
In general, these days I use sketchbooks not sheets or pads. But there are some exceptions:
Commissions – need to be on a single sheet so that I can work for a long time on a flat surface, and then send the single item out to someone
Books – I tend to do the artwork on sheets of marker paper because I know they will be scanned and turned into digital work – never sold as originals and therefore don’t have to be high quality rag paper
@NeverTooManyChickens – all on hot press watercolour paper, because well.. I’m then painting them with gouache
But for day-to-day use I tend to use sketchbooks because these days, the paper quality is excellent and I if I can manage to carry the same sketchbook around for a period of time, I tend not to lose them all!
Features of a sketchbook
I’ve been using them for a few years now, so I’ve ended up with a clear set of preferences:
1. Paper has to be thick
Generally, I need paper to be of a reasonably heavy weight. This is because I don’t want my beautiful dark pigment ink to soak straight through, and because I may get asked to sell a drawing and so I need it to be of a high quality outside of the sketchbook.
2. Paper has to be smoooth
I don’t know where this comes from, but I’m generally not a fan of bumpy paper. It makes the lines wiggly and generally life a lot harder than I want it to be!
3. Covers have to be hard
I used to use all sorts of sketchbooks, but with extensive travelling, I now prefer sketchbooks with a hard cover and a band around them, so that I can chuck them in a bag or case without too much worry that they’ll get squished
4. Paper usually has to be white
I prefer very white paper. Partly because I just prefer pure black on pure white, and partly because it’s so much easier to take photos for Instagram!
My go-to sketchbooks
So, the sketchbooks that meet the above criteria, that I use all the time are:
Stillman & Birn Zeta – I mean the whole series is to die for, but they hard hard cover and spirals which makes life super-easy. And the paper is the smoothest and whitest I’ve found. Heaven.
Moleskine hard covers – I used to use these all the time, but the paper is a little lightweight and usually a little cream/yellow unless you buy the watercolour/drawing paper versions. These will still do for me in a pinch, especially working with Microns because the bleed through isn’t too bad. It’s good that I can grab these at an airport for example, if I have failed to plan ahead properly!
Royal Talens – This is what I’m using the most at the moment. These were given to me and I was hesitant at first – because I didn’t choose them(!) and because the paper is not quite white – it’s a little off-white or almost cream. Also not as smooth as the Zeta. But for reasons I cannot quite put my finger on, I’m really enjoying them.
I think perhaps because the paper has a really nice weight to it, and the cover feels high quality and extends nicely beyond the end of the paper. Also, despite being a white cover, I have thrown them in and out of bags with no damage or marks either to the cover or the pages inside.
What else? (a cheat)
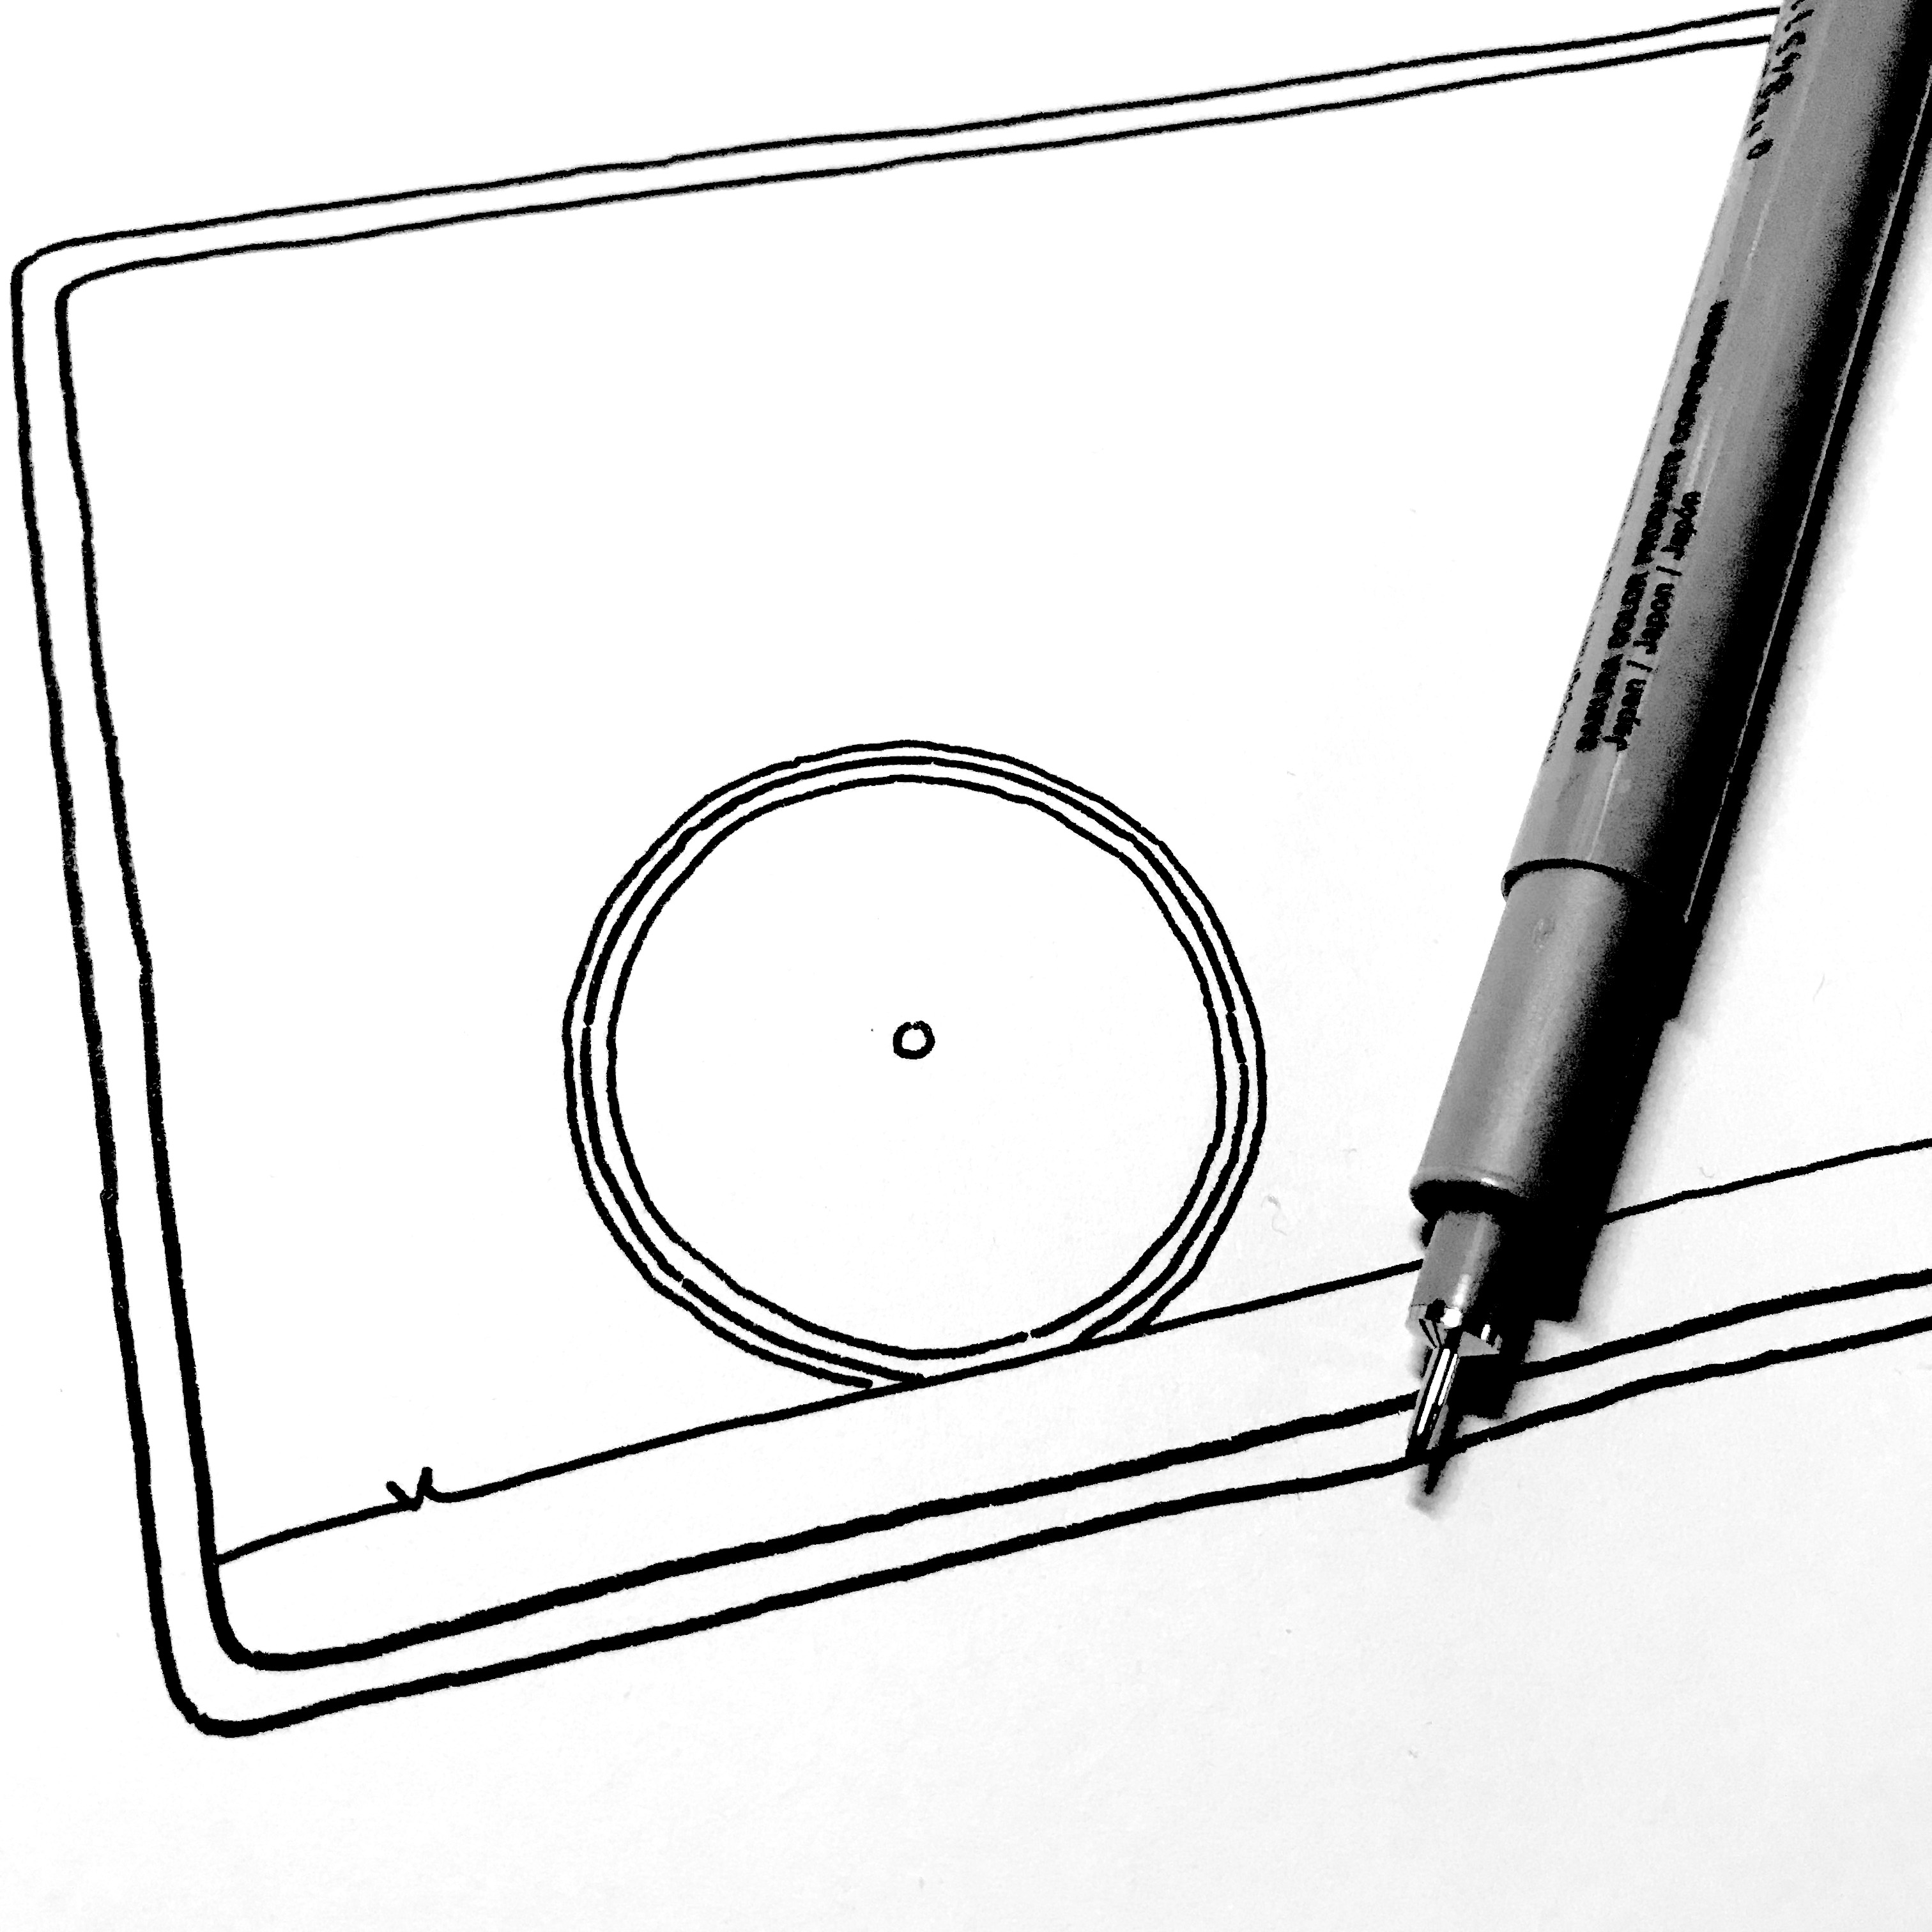
One more question I get is “how do you draw such straight lines?”
There are two answers to that:
a) Practice
b) Cheat
In most of my sketchbooks, I keep pre-cut pieces of paper, or even post it notes!
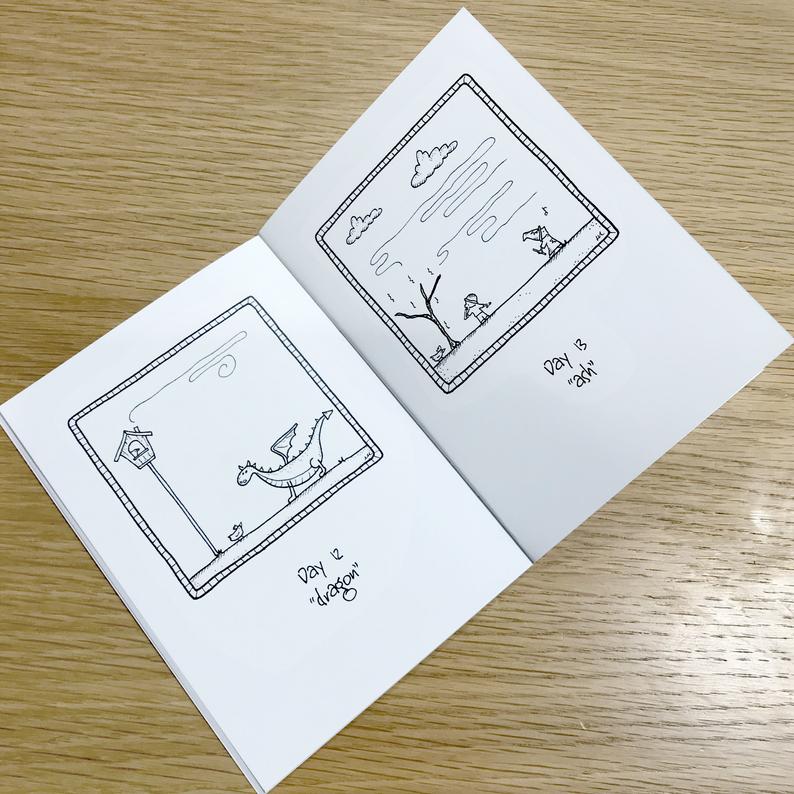
Top tip: when using guides that you inevitably store in the back of your sketchbook, a thicker sketchbook paper like Talens, rather than that of a Moleskine prevents any impact through the paper you’re drawing on. Most of the time I don’t use guides, but when I’m doing something like Inktober and I want all of the cartoon panels to be consistent – that’s what I use.
Many years ago, having first been introduced to several artists who had their own studio, I realised that they are a special breed of person.
Most artist studios are not particularly luxurious. They are often in old warehouses or old buildings that have been repurposed on a shoestring budget, which helps keep rents down. This means that most artists find ways of maintaining their environment as best they can; leaky ceilings are patched with bubble wrap, gaps and draughts are stopped up with whatever they have lying around.
Years later, with my own art practice, I have learned the ways of adapting and making do within a budget. I have a nice studio that I have to travel to get to, and a place where I live in order to do the day job.
This means that my home has a small studio crammed into a corner of the bedroom, because I couldn’t work and not work.
I have a studio I can live in – just about – and a rented flat I can make art in – just about.
With the arrival of the coronavirus, I see a future where everyone has to adapt their living environment to be a live-work space. Often while sharing with other people who also work.
I believe that the things I have learned to do to enable an art practice at home will become the reality for many people in future.
Renting or housing
How can I find a flat that will have enough bedrooms and enough working space. Can I fit a studio in the corner of a bedroom? or can I turn the kitchen from living space to working space and back again? And what effect will this have on the rest of my household?
Furniture
What furniture will I need to enable a live-work space? Does what I need even exist?
Even IKEA doesn’t always have ready-made options. I’ve spent plenty of time sawing and connecting different bits of IKEA “solutions” to make storage or studio space that I need.
Broadband
Where am I spending most of my time?, how much bandwidth do I need for video chat? How can I have it wherever I end up going?
I’ve given up on broadband at home. It’s usually crap (unless you pay a lot), it breaks constantly and you can’t rely on engineers to turn up when they say they will (I’m looking at you, Talktalk) and with multiple studio spaces, an office, a commute and an unknown future around all of these, where do you need it to be?
I’ve finally gone with unlimited data on a cellphone. This means I can tether wherever I am in my space or in the country. I’m housebound for now, but who knows where I’ll end up having to be or if wifi will even be a thing?
From the ashes
It’s clear that the future is uncertain but definitely different to what I’ve known up until now. Once coronavirus is gone there will something else, or the threat of something else and the world will have to adapt to a new reality, with different versions of “daily life”.
I truly believe that from under the rubble and out of the ashes, those who have already adapted their lives to their own way of living will be the ones who cope first, and best with the changes to come.
Come the revolution, a drawing
This drawing is about everything I’ve written above. It’s about sharing a space but being apart; finding room to do what you want to do and planning your environment to enable that. It’s also about different types of needs and how they are fulfilled alone and together in mutual support. It’s also about chickens, of course.
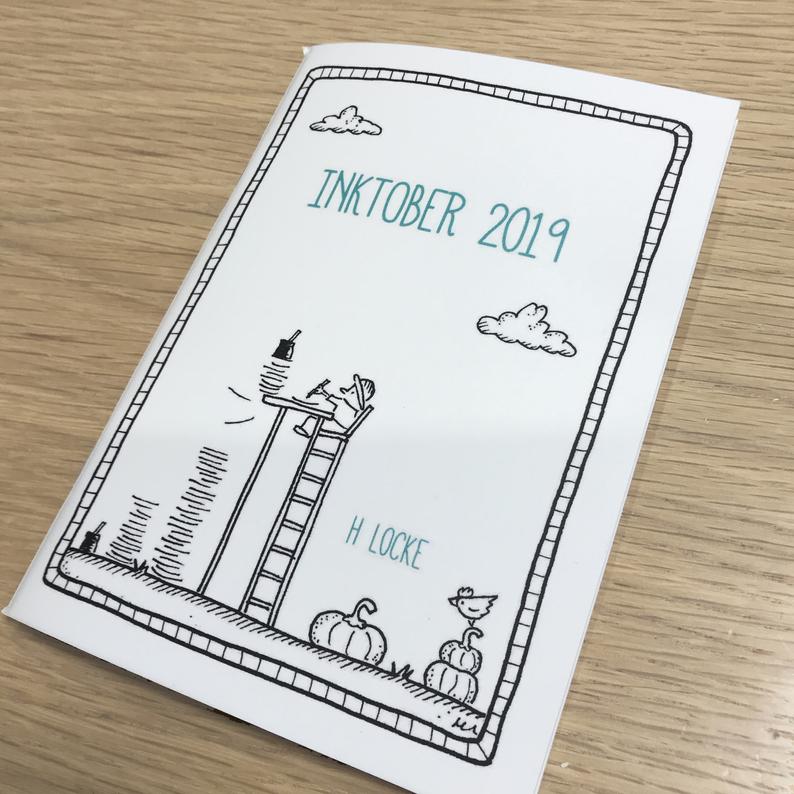
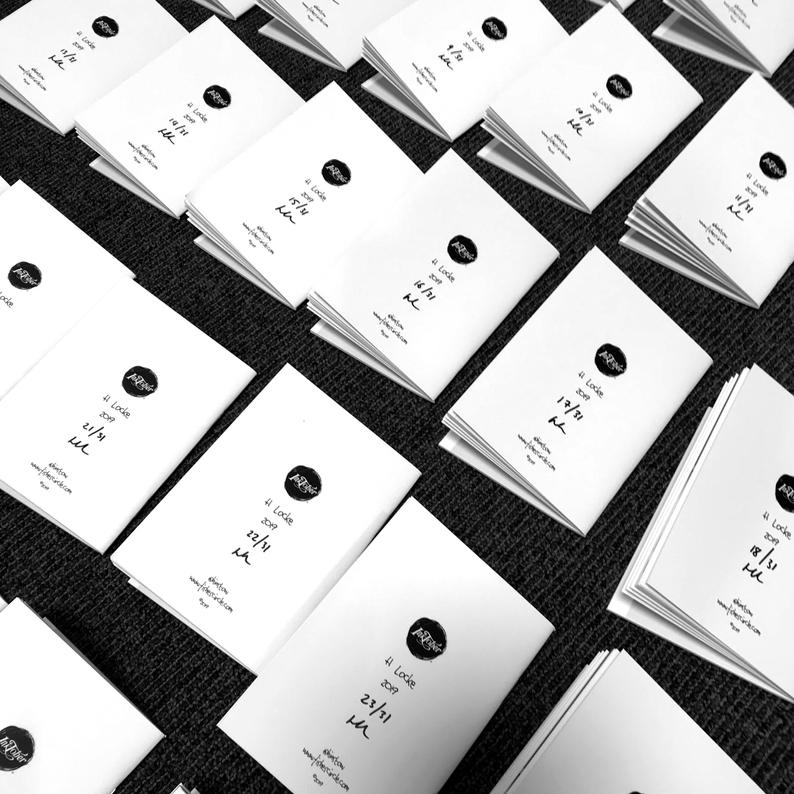
In October 2019 I took part in the instagram drawing challenge of Inktober. I’ve done it a couple of times before, but generally found that I don’t have enough time to dedicate to coming up with really good responses to the prompts.
This year, I committed a lot of upfront time to researching the semantics of each word, and trying to come up with really creative solutions. As I was happy with the outcome, and received a lot of messages asking about my process, I decided to publish a book of the drawings, along with pages from my sketchbook and photos of my materials and the approach I took.